Saturday, November 24, 2007

It Seems Fitting


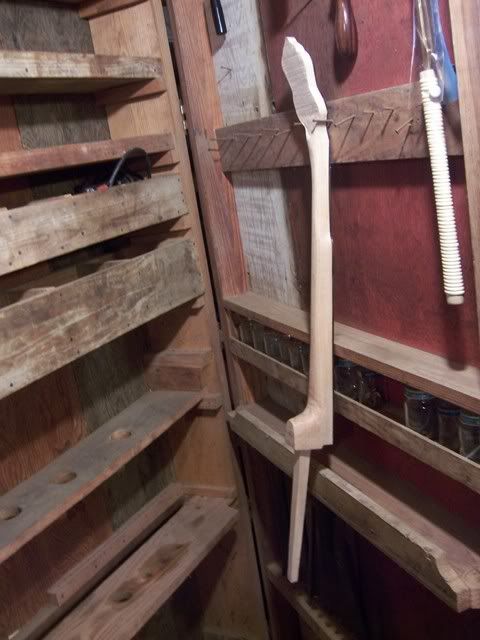
This week I worked on the neck, mainly. The weather is still pleasant, but the cold is coming and I don't have heat in the shop, so I'm trying to work as much as I can. Hopefully I can finish before it gets too terribly cold.


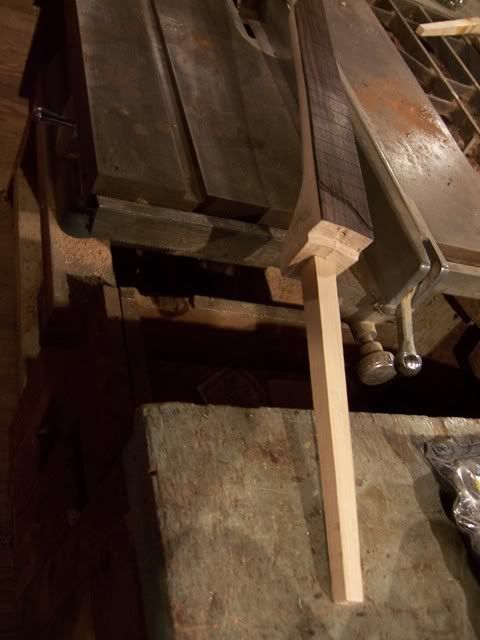
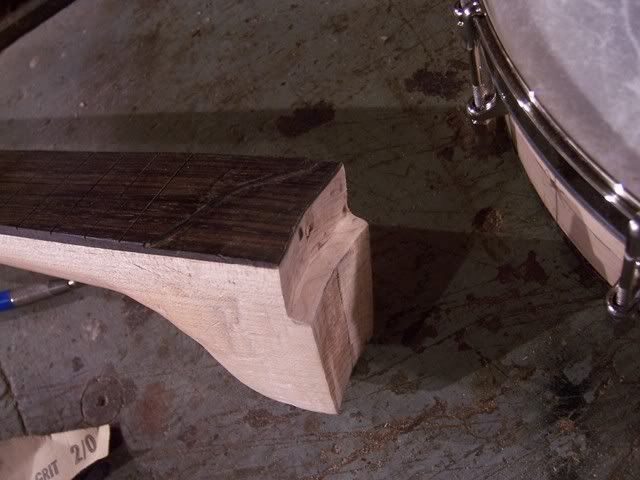
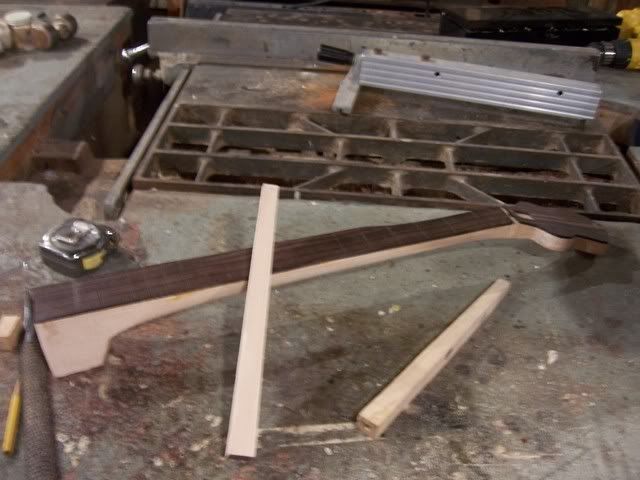
I put the dowel rod on the neck. I used a metal dowel screw to secure the rod onto the neck. The dowel rod will also be glued, so it will be pretty solid.


.


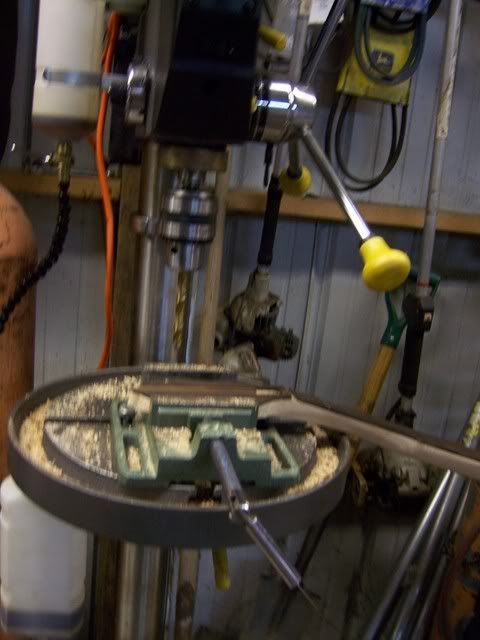
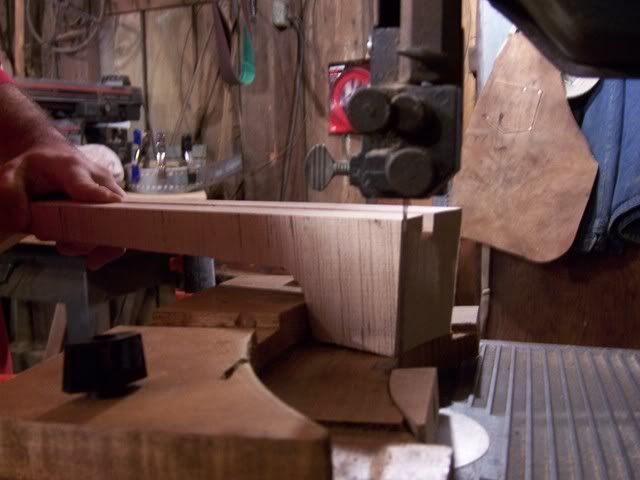
Next, I used a drill press to drill the holes for the tuning pegs.


.


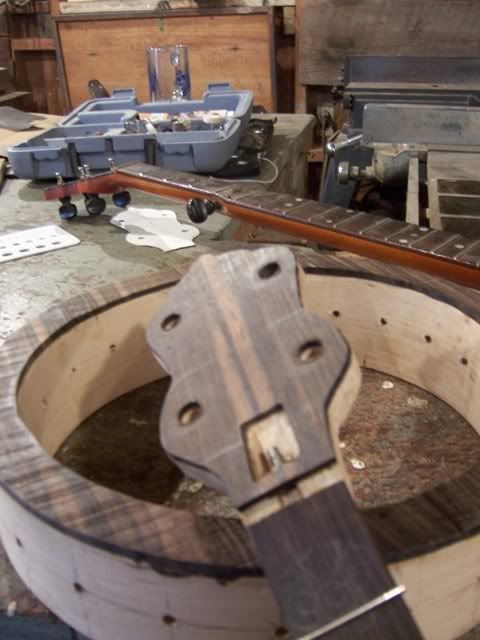
To the left is a photo of the headstock after being drilled. It is now ready to accept the tuners


.


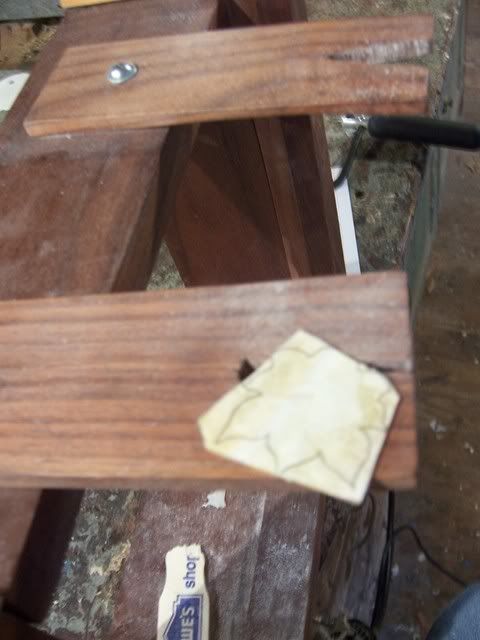
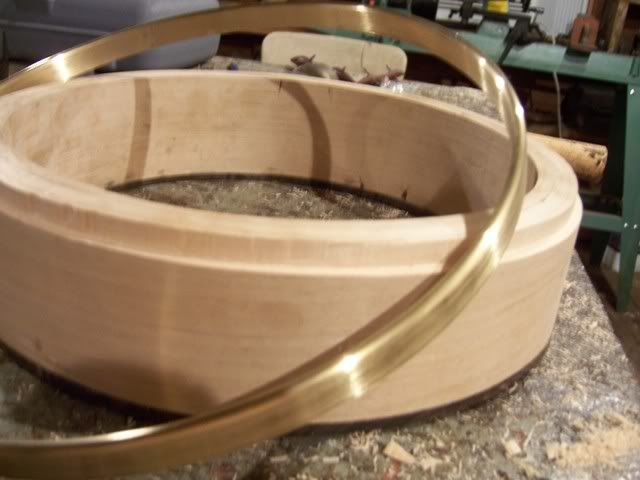
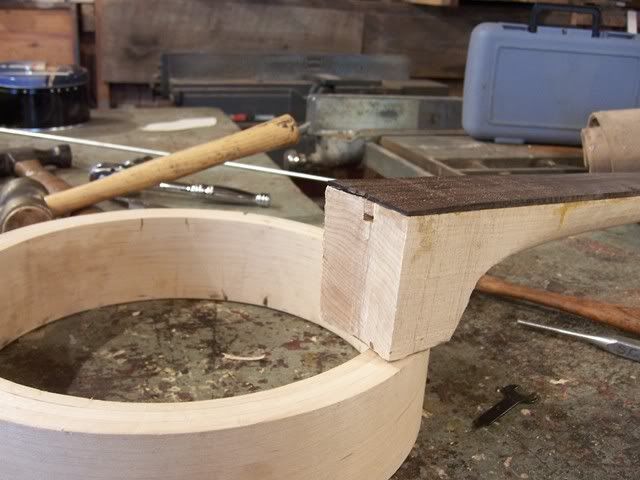
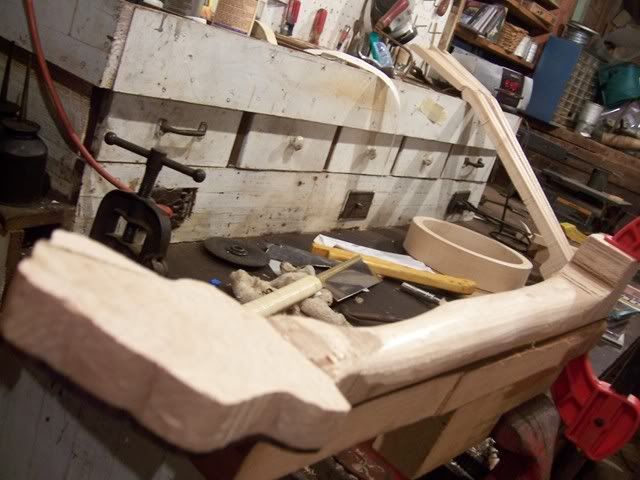
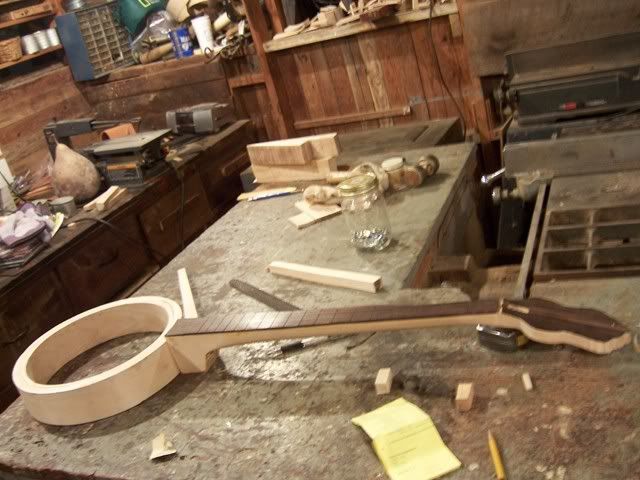
Next I checked the fit and alignment of the neck to the pot. The alignment is checked to make sure that it is correct before it is glued.


.


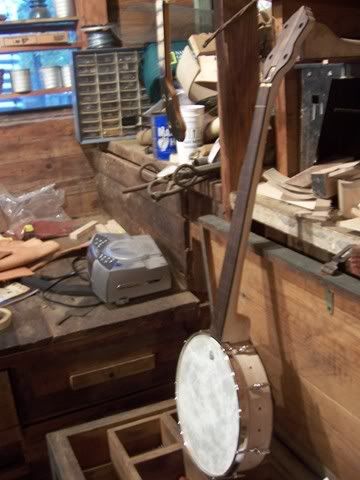
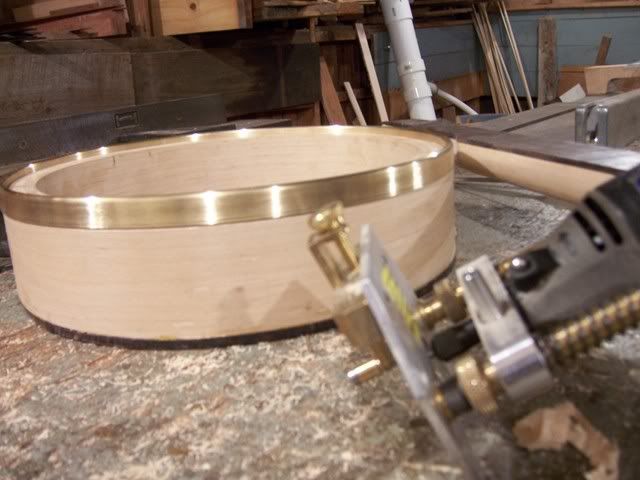
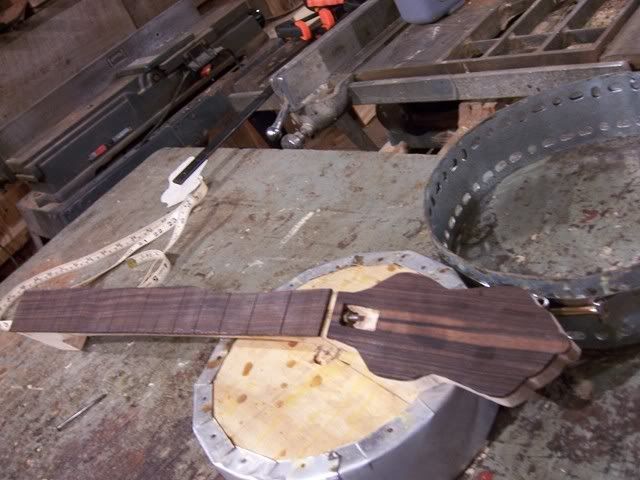
Next I attached the head to check that everything is correct.


.


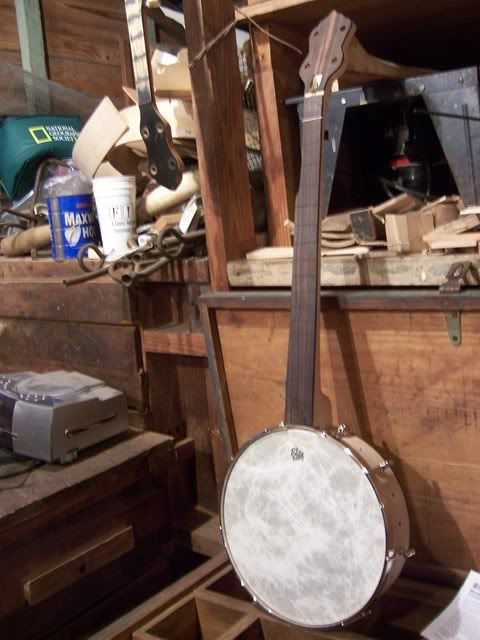
Another photo of the neck attached.


.


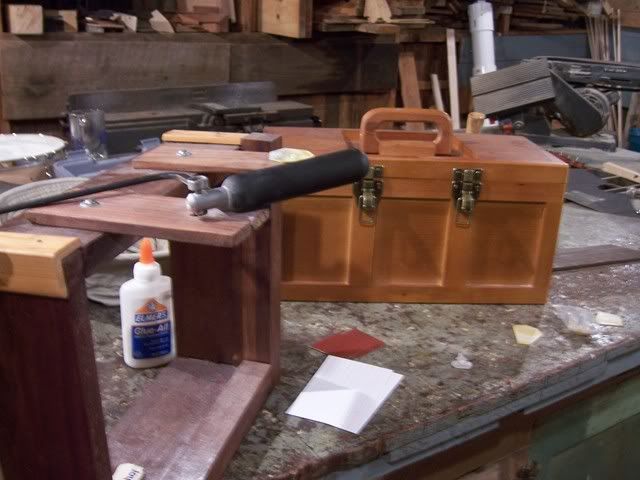
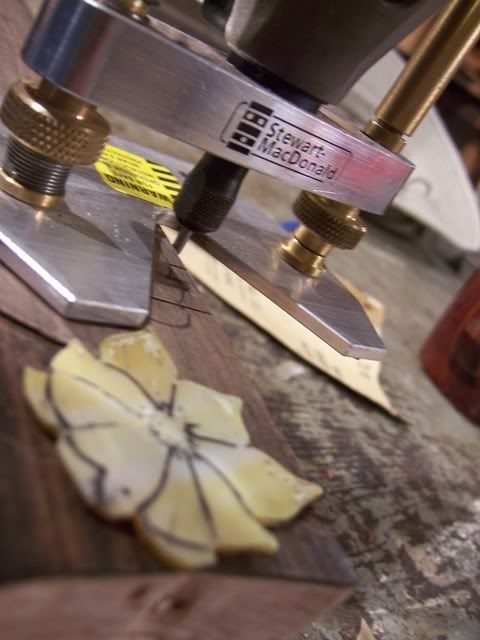
After I was sure that the neck fit properly, I prepared to cut the inlay. The photo on the left shows the jig that I built to cut the pearl.
.


This photo shows the blank piece of pearl that I used for the inlay.


.


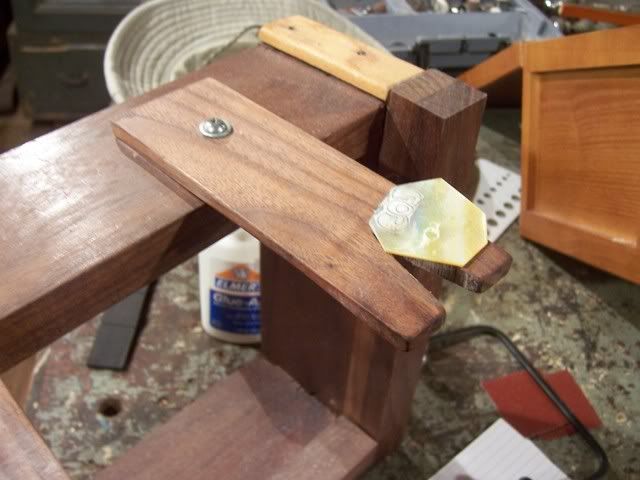
The wooden platforms are what supports the pearl blank as I cut. The pearl is pretty fragile, so the support is needed or it will break. With any luck this piece of pearl will look like a lotus flower.


.


A photo of the cut pearl.


.


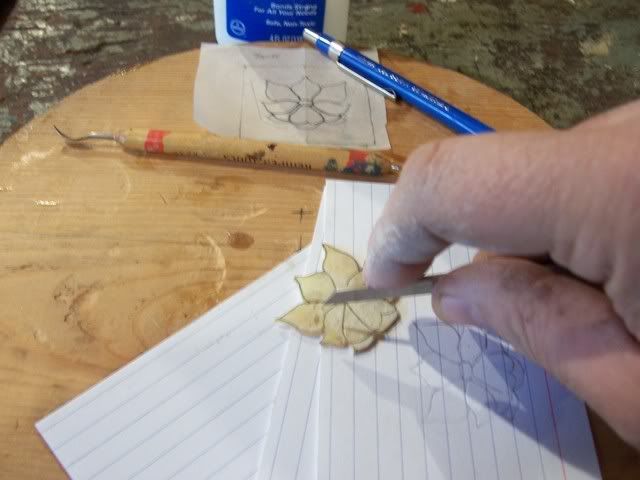
After the shape was cut, I carved the details into the pearl.


.

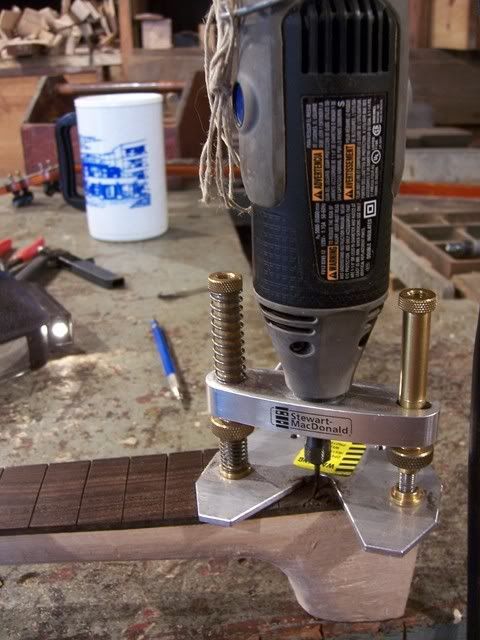
After the pearl was cut and carved, it was time to inlay it into the neck. I used my trusty dremel with a router base to cut into the wood. When I inlay, I leave the pearl exposed above the wood slightly, then I sand the inlay flush with the wood. This removes most of the etched marks from the pearl, but there are enough remaining to use as a guide.


.


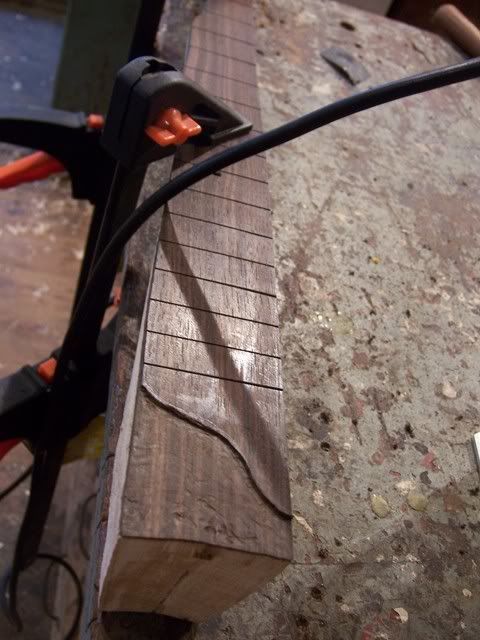
And here the cavity has been routed and the neck is ready to be inlaid. I will glue the inlay onto the neck using a mixture of epoxy and dust from the fingerboard.
Well, that's all for this week. Next week I hope to finish the inlay and fret the neck. I have a lot of sanding, also.


.


Tuesday, November 20, 2007

THANKSGIVING


Fall has finally arrived, sort of. It's still 80 degrees or thereabout each day, but the leaves are turning and it's beautiful around these parts.


Last week Amy was invited to demonstrate spinning yarn at Rickard's Mill in Beatrice, Alabama. Each year the town of Beatrice has a festival based around the making of cane syrup. On Thursday and Friday school children were bussed in from all over lower Alabama to learn about traditional crafts such as pottery making an soap making. Each day there were approximately 500 children. On Saturday the event was more like a typical festival. I brought my banjo, of course, and we Had a great time. Everyone we met was incredibly friendly and generous. I'm already looking forward to next year.


The class that I'm helping with at the University is beginning to wind down. The students presented their final paper today. I'm going to miss the class when the semester ends. All of the students are great. In a year full of highlights, helping teach has been high on the list of rewarding experiences. I will miss everyone after the semester ends. To the left is a photo from our bonfire a few weeks ago.


And as the year begins to wind down and the thanksgiving holiday approaches, I realize just how fortunate I am, and how much I have to be thankful for. I'm thankful to have friends and family, a roof over my head, Amy, three great cats, and a banjo to build. Seriously. It makes me very happy to piddle around in my granddad's shop. I am thankful to have such a meaningful and rewarding hobby.


As for the banjo, I decided to use the same wood for the cap on the pot as I used for the peghead overlay and fingerboard. I had planned on using the African Rosewood for the cap on the pot, but the ebony was so beautiful that I just couldn't resist using it on the pot cap also. Not very cost effective, but it will make a beautiful instrument.


I used 1/4" pieces of wood glued to the bottom of the pot to create the cap. To the left is a photo of the cap clamped to the pot.


Next I shaped the neck. To the left is a photo of the fingerboard scoop. I used a dremel tool with a router base to create the scoop.


The scoop makes it possible, or at least more comfortable, to play the banjo clawhammer style. Most clawhammer and old time players play in this position because they believe that the tone is so much better there. Playing just above where where the pot and neck meet creates a nice mellow "plunk" that most old time players desire. The scoop on the fingerboard allows the thumb to grab onto the 5th string.


I also shaped the heel and performed the final shaping of the neck. I foresee a lot of sanding in my future.


To the left is a photo of the pot after it was grooved to accept the tonering, and that is the tonering resting against the pot. I use a simple brass tonering because it sounds the best for old-time music, at least to me, anyway.


And here is a photo of the tonering placed on the pot.


At this point, I think it would only be proper to introduce you to my trusty shop assistant., Fela. She's been a big help.


Next I mark the pot for the L-shoe brackets.


After I marked the pot for the brackets, I cut a hole to accept the dowel rod


I then drilled holes for the brackets. I placed them 1 1/2" apart.


And here are all of the parts that make up the pot. The upper left corner is the pot. beside the pot is the head. In the lower left is the brass tone ring, and beside that is the tension hoop.


Here the head is fitted over the tonering.


And here we are. The pot completely assembled. If nothing else I've created a nice snare drum.


After I finished the pot I was able to complete the carving of the neck. I carved out the top of the neck so that the tension hoop could fit against the neck.


Another photograph of the neck.


Well, that's it for this week. I want to wish everyone a great Thanksgiving. We all have a lot to be grateful for.


Monday, November 5, 2007

Of Pecans and Such


Working in the shop around a job and a life makes the banjo building go slowly, but I finally reached a point when I looked at the neck and the pot together and it actually looked something like a banjo.


The weather is still amazing. Nice mild days with bright blue Skies. Today it was cool enough to wear a sweater in the morning. Later in the afternoon I had an old metal box fan roaring over the Shirley Collins/Davey Graham cd.


The pecans are beginning to fall from the trees and I've been collecting them as I find the time. I'm beginning to believe that the Easter tradition of searching for hidden Easter eggs was created by southerners wanting to condition their children to find and gather pecans in the fall. While picking pecans today I had a strong memory of my Grandmother in the backyard, sitting at a wooden picnic table, shelling pecans and singing Amazing grace. The memory made me smile.


This week was very productive. I began by working on the contour of the neck. It's very important that the curvature of the neck is correct and fits tightly against the pot, otherwise there will be movement in the neck as it is being played.


Earlier in the week I began to create the curve on the neck as I did on the other banjos, by roughing out the curve on the bandsaw, then using a chisel and the dremel to get the exact curvature. This method does not have predictable results, and is based on trial and error, for the most part. I carve a little, test the fit, carve a little more, and on and on. It seems to end up o.k., but I would rather get accurate and predictable results from the start.


So I spent a couple of days designing and building this neck jig. It allows me to carve the neck accurately, so that the neck fits perfectly on the pot.


Here I am sliding a neck through the jig. I slide the heel of the neck against the curve of the jig and the bandsaw cuts the correct curvature. It's a simple design, but I've learned that the simplest designs are often the most accurate.


I glued the fingerboard and peghead overlay in place, then began to shape the neck. After making good progress on the neck, I shaped the peghead on the bandsaw. I have a jig that I use for this process that keeps the neck in position with the blade.


Next I roughed out the dowel rods to be fitted onto the neck


And steambent some more wood for the pot.


And here we are so far. If you squint your eyes and tilt your head just right, you can make out the faint impression of a banjo. I believe there's hope for it.