Tuesday, July 29, 2008

Horses


I thought I would take this opportunity to introduce you to where much of the planning stage of the banjo building is done.


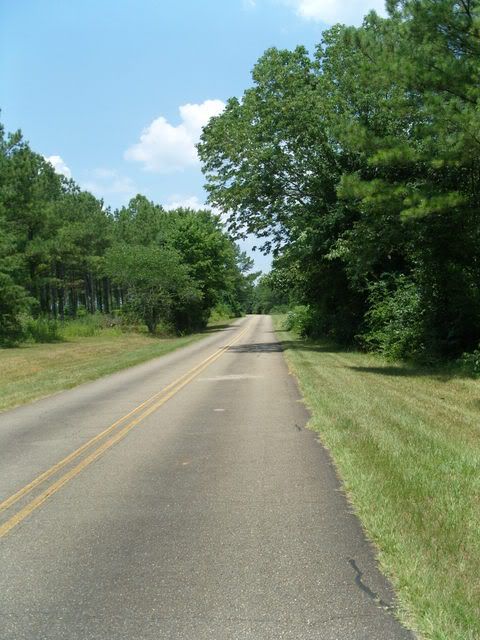
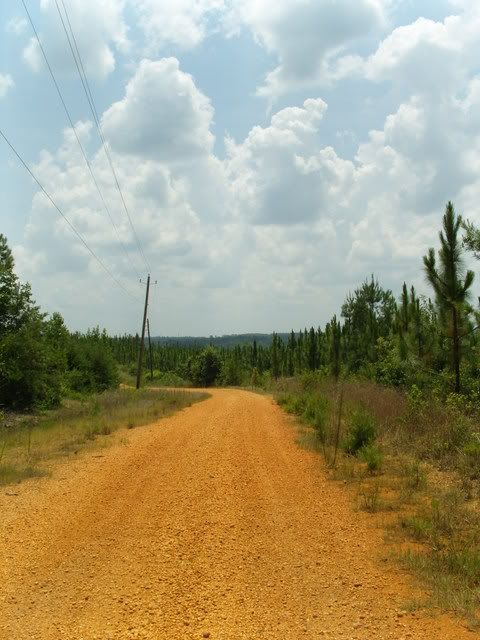
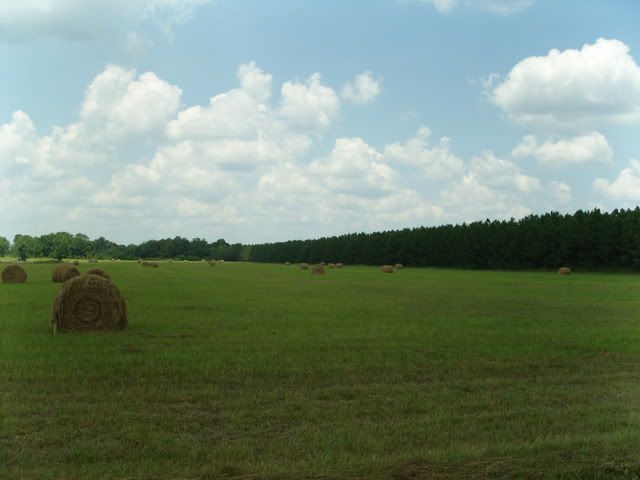
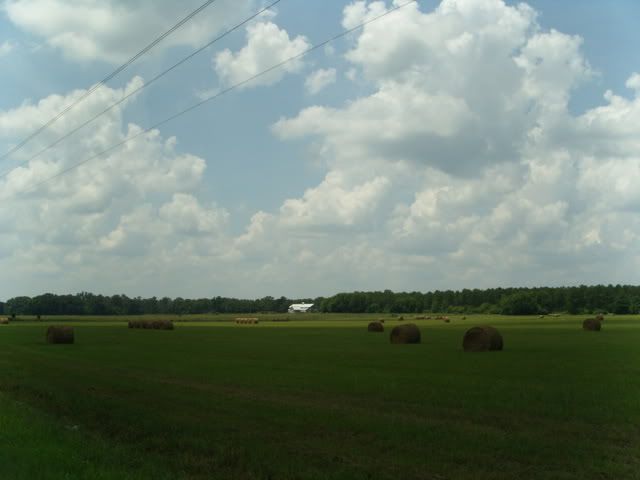
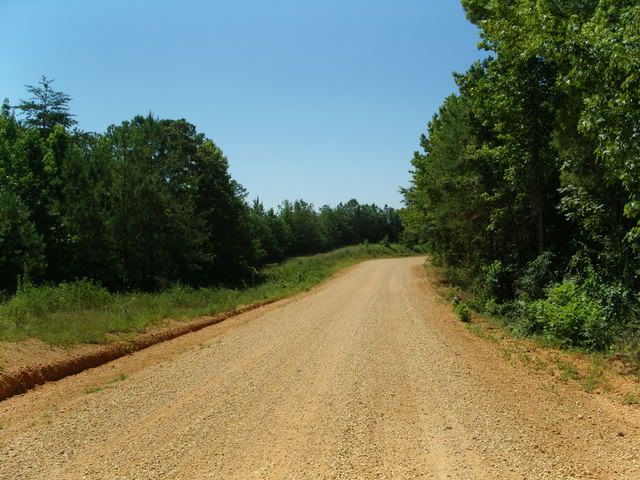
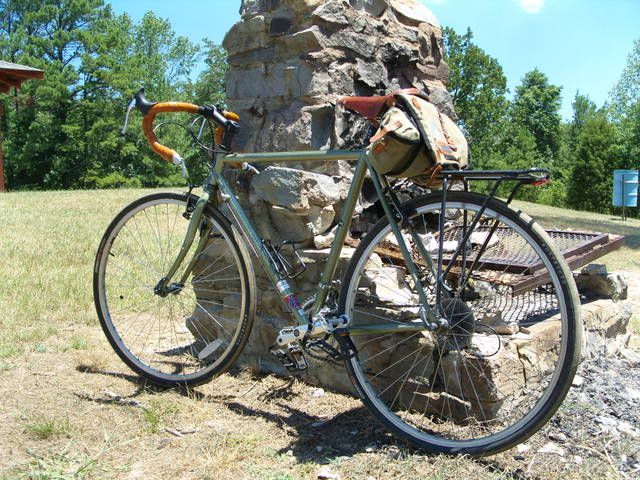
I would say that this stretch of road was an integral part to learning to build banjos. Anytime I had a question during the building process, like, 'how am I going to bend the wood for the pot?' or 'how am I going to fit the dowel rod onto the neck?' I would throw the bike onto the back of the car and head out to Old Lock 15 road.


Biking out in the country air where it's so peaceful and calm gives me time to clear my head and think


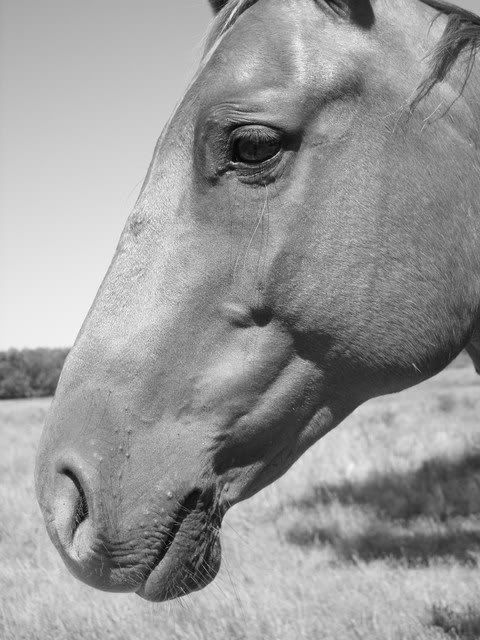
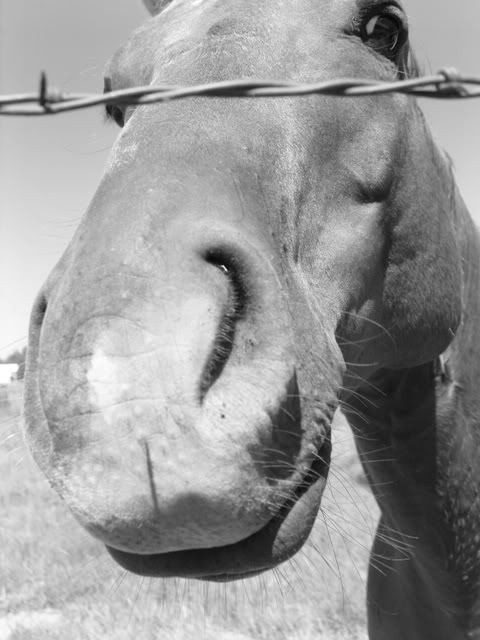
I've been biking out here for years. So long, in fact, that I've made friends with a couple of horses.


My average speed out here is usually somewhere around 12mph. I bike so slowly that I don't even know if I'm getting much exercise. But I peacefully plod along for about 25 miles or so. It's good for the mind and spirit.


Little did I know that there is a whole community, a whole movement, dedicated to this philosophy. It's a big world out there.


And with my journey for the day complete, spirit and mind fortified, it's onward and upward.


Monday, July 21, 2008

Time to Finish the Pot


Now it's time to finish the pot.


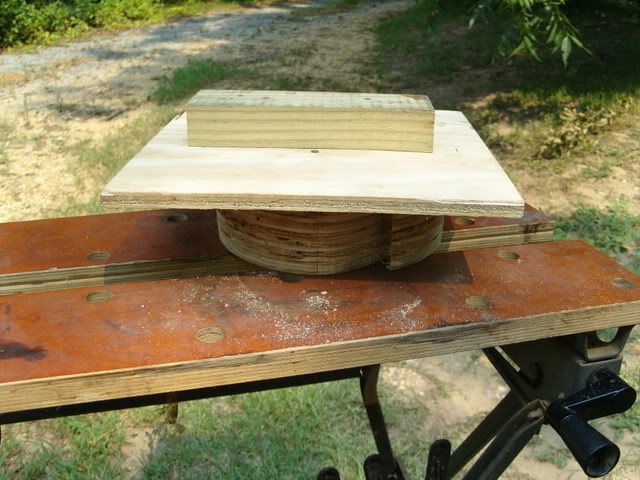
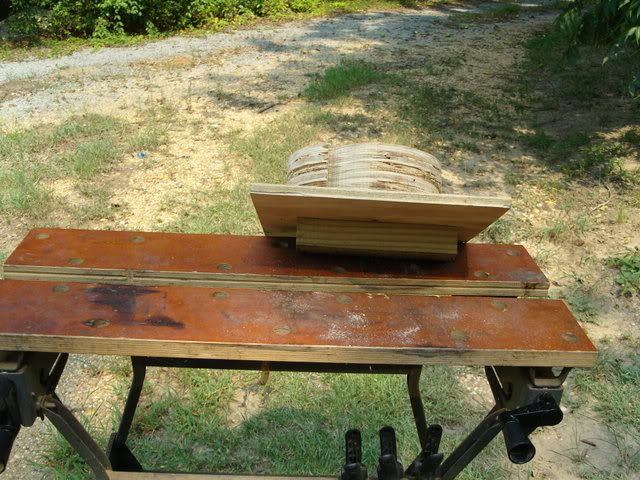
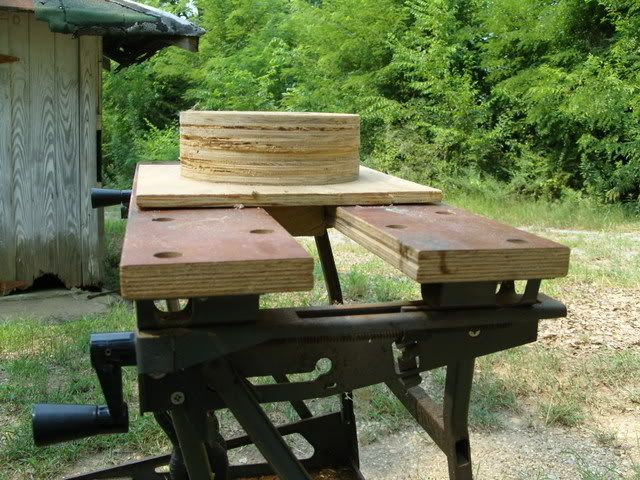
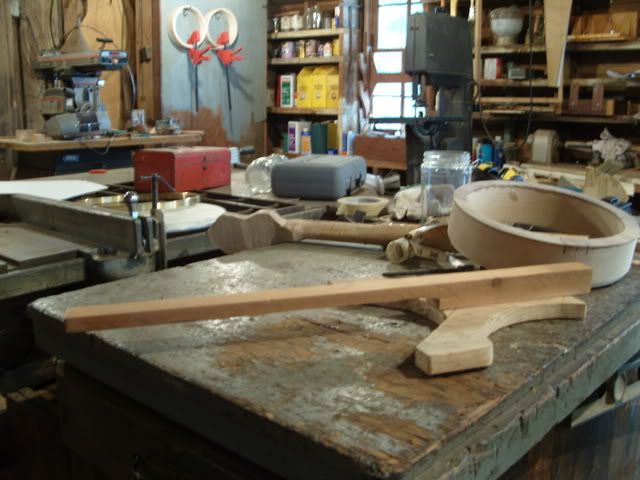
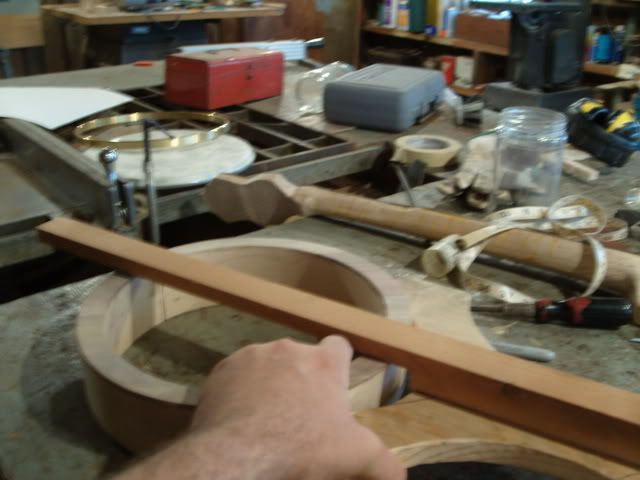
Above is a photograph of the centering jig that I created to find the location of the hole for the dowel rod and the hole for the tailpiece.


By using this jig, I can be assured that the tailpiece will be aligned exactly opposite from the neck.


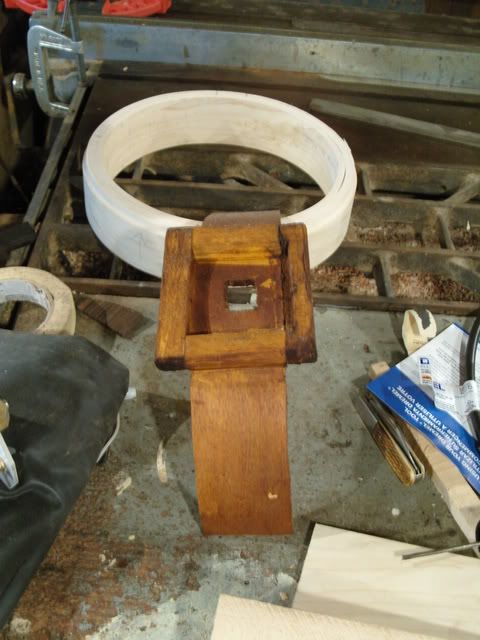
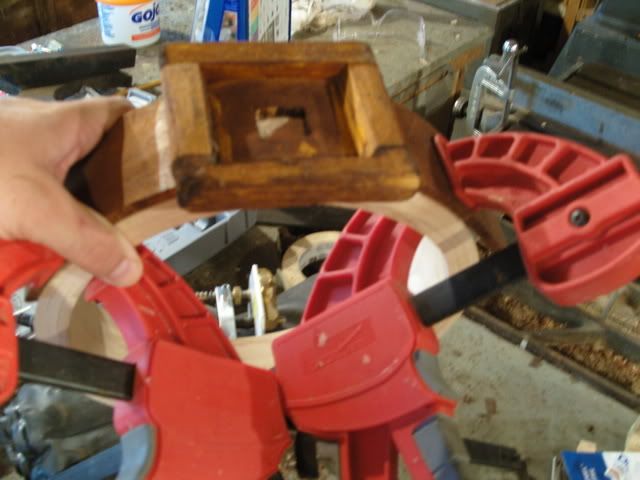
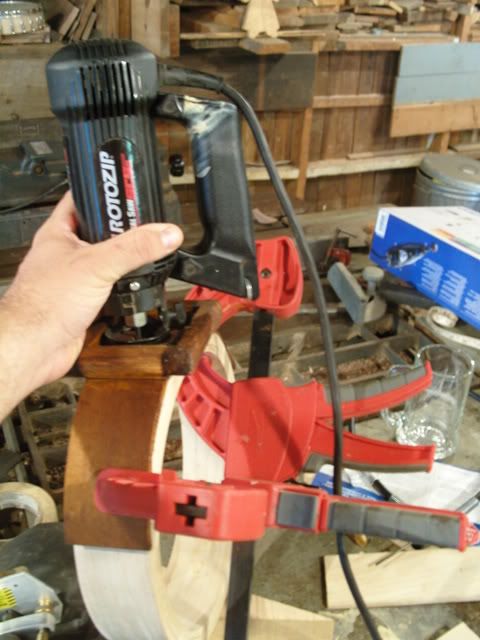
Here's a photograph of my jig to cut the hole that accepts the dowel. The walls of the jig stop my rotozip, assuring a uniform square each time.


First I clamp the jig to the pot...


Then run the rotozip against the walls.


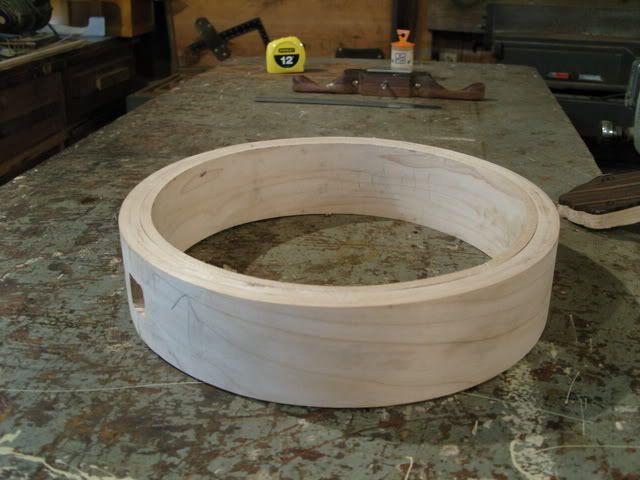
Here's the unfinished pot with the hole drilled for the dowel rod.


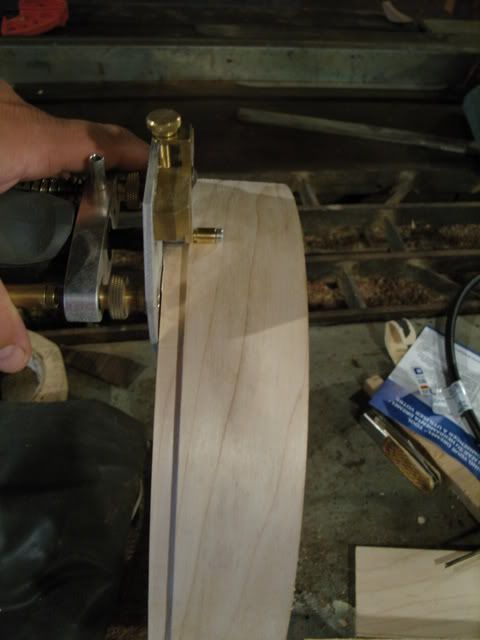
I use a Dremel tool with a binding jig to rout the groove for the tonering. I make several passes, increasing the depth with each pass. This assures a tight fit for the tonering, creating the best possible sound.


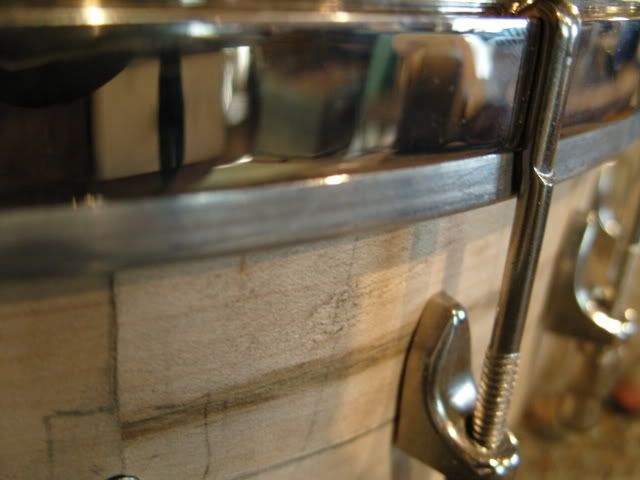
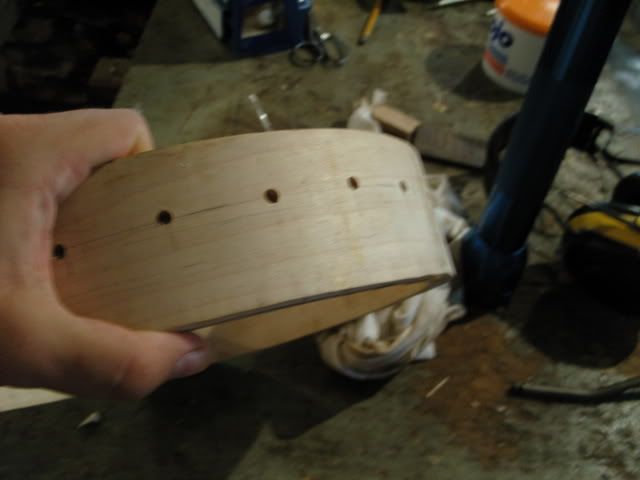
Time to drill holes for the bracket hooks.


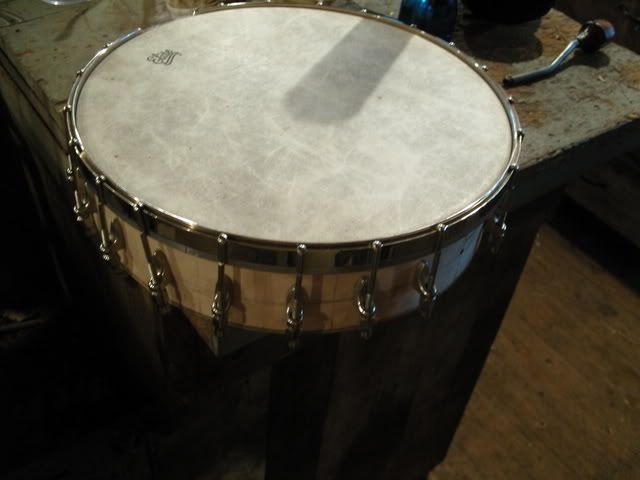
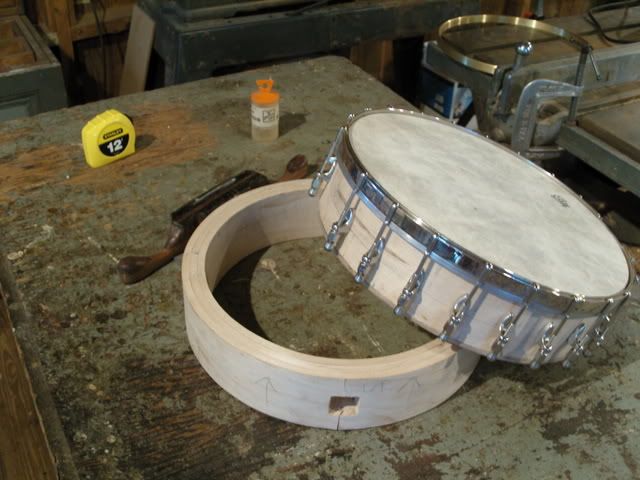
And the assembled pot.


Nic is still designing his inlay, so I am taking this time to break from banjo building and work on the shop. If you remember at the beginning of the blog, the woodworking shop was built by my grandfather in the 1940's and had been abandoned since the early 1980's, so It needed a lot of work to get it going again. Once I had it operational I started using it, but it needs a new roof and floor (and a few other things). So now that I have a little break while waiting on the inly design, I think I'll tackle the floor. I'll keep everyone posted.


Wednesday, July 16, 2008

PEACHES pt. 2


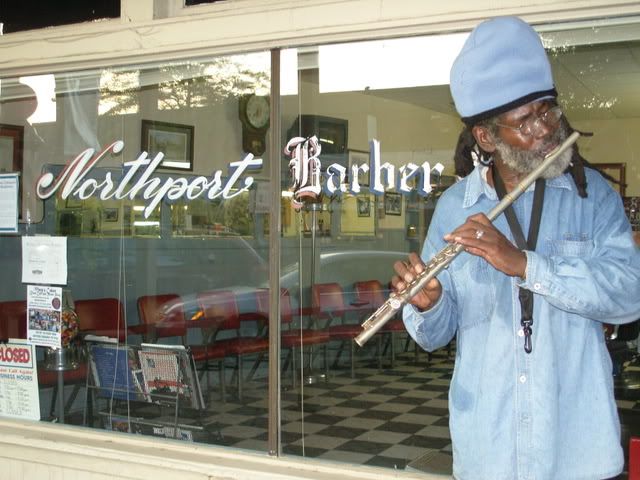
As I have mentioned in an earlier post, the first Thursday of each month is art night in downtown Northport. It's the time that the galleries have their openings and stay open at night. The last art night I met Robert playing jazz in front of the barbershop. Amy and I stopped to listen and talked to Robert for a bit.
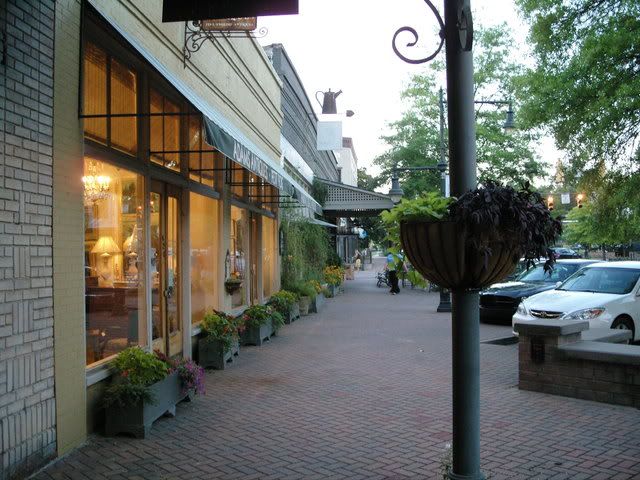


I feel lucky to live in Northport. Being from, and living in a small community, where we know our neighbors, has instilled small town values. But living next to a large university (University of Alabama), offers me opportunities and resources that I would not otherwise have.

I recently took part in a political survey. At the end of the survey I was asked weather I considered myself rural, urban or suburban. I've never really thought about it, and I really didn't know how to answer.

I'm not rural. I live in a small town next to a medium town that houses a large university, so I wouldn't say I'm rural. I'm certainly not urban, and, although I live next to Tuscaloosa, Northport is not a suburb of Tuscaloosa, so I'm not suburban. I feel like I am something else, something without a name, perhaps. A mixture of the three, if possible.

So, I guess I'm going through an identity crisis of sorts.

What's in a label? Shakespeare sort of asks. Beats me. If I find one I'll try it on for size and let you know how it fits. People want to pigeonhole us too much anyway.


As promised...let's bend some wood.
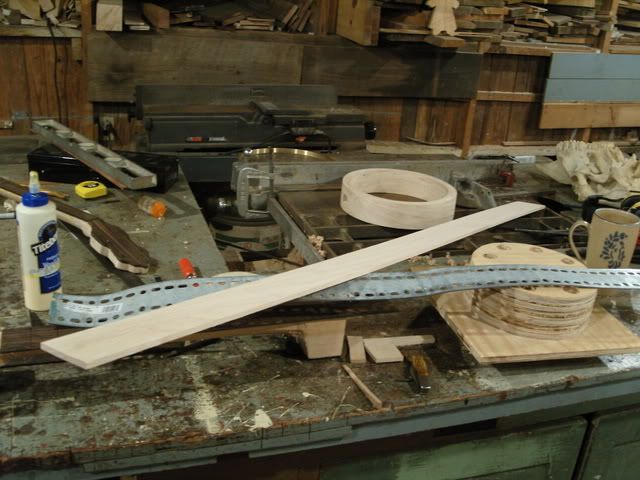

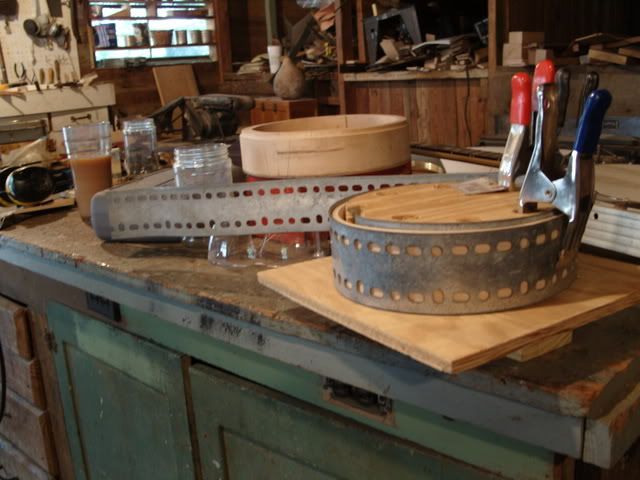
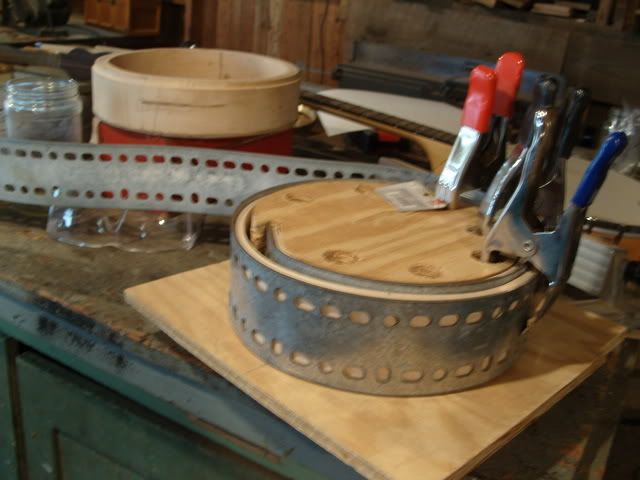
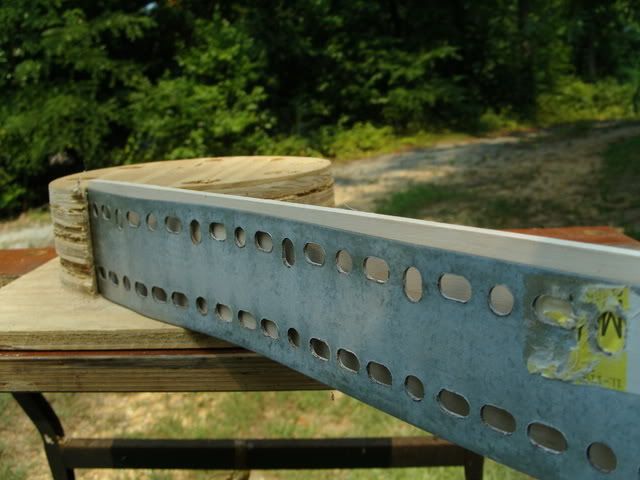
Above is a photo of the supplies that I will use to bend. The wood for the pot, the form to bend it around, and a metal strap to keep the wood from cracking as it bends.
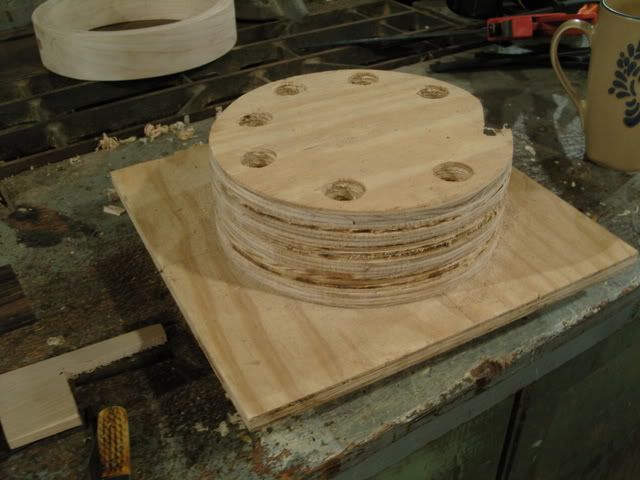


Above are a couple of photographs of the bending form that I use.

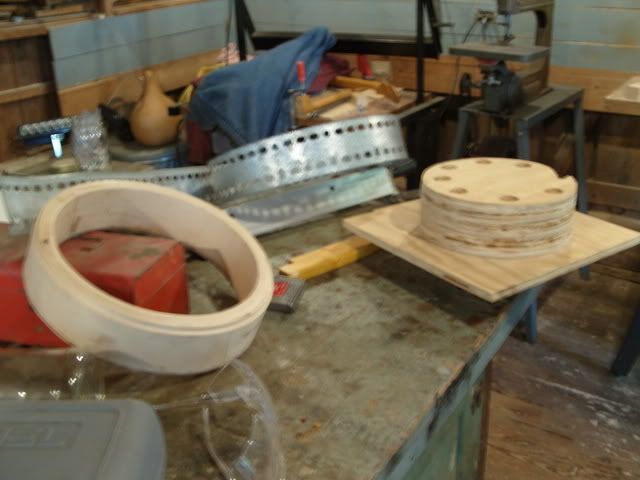
The forms are made from three pieces of plywood glued together for a height of 2 3/4" The measurements of the form don't have to be exact, just as long as it is as tall as the width of the wood being bent. The width of the form is 8 1/2," but once again, this doesn't need to be exact, I'm just trying to get the wood used to the idea of being round.

I cut a notch in the form, something that the wood for the pot can anchor to as it bends. I also cut some 1" holes to accept spring clamps. This holds the wood in place as it dries.

I attach this form to a base.


Attached to the bottom of the form is a piece of wood so it can be clamped to my workmate.
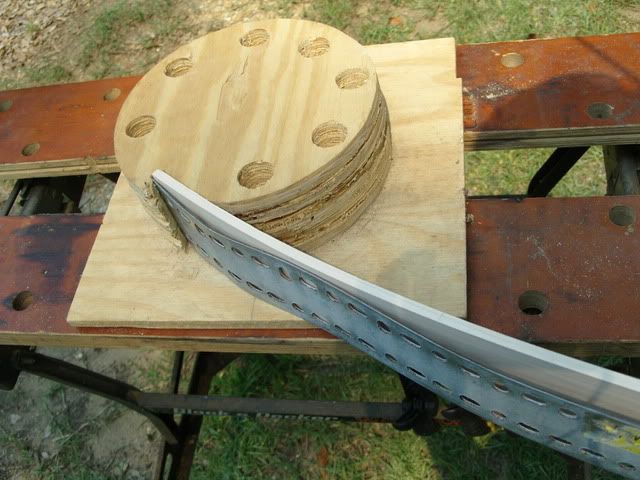


Once the wood has steamed for the appropriate amount of time, remove the wood from the steambox and, while holding the wood against the metal strap, place it into the notch in the form. I walk around the workbench, bending the wood around the form. Once the wood is around the form, fasten it to the form with spring clamps.


Try to work quickly, the wood is pliable for a short amount of time. Don't rush, but work steadily and with purpose.


Wear thick gloves, the wood and the steam are very hot.

One thing that I feel I should say here. As with most everything on this blog, I worked this stuff out through trial and error. I found what works for me, but I'm not encouraging anyone to use this information or suggesting that any of this is safe, so please be careful and use this information at your own risk.


After the wood is secured to the form it is left to dry.


After a couple of days the wood will develop a "memory..."
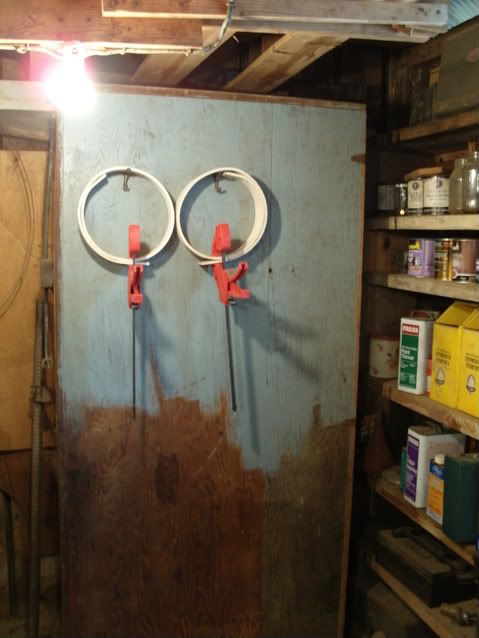


and be set aside.
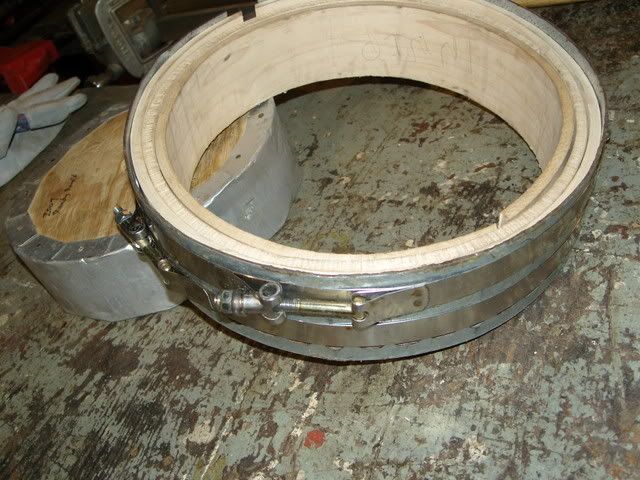


It is time to make some decisions about the pot, to decide how thick, how tall, and the circumference.

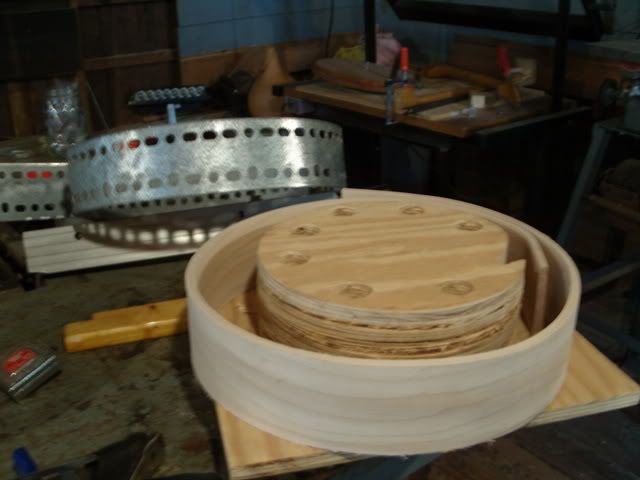
I use an 11" pot that is 3/4" thick and 2 1/2 tall. That makes the inner diameter 9 1/4," so I must build a form 9 1/4" wide and 2 1/2" tall. I use three pieces of plywood cut in a circle and glued together to make the form, I then tack aluminum shim stock to the outside of the form to keep the pot from attaching itself to the form during glue up.

For the outer strap I use the same strap material that I use for bending. I cut the strap to the length of the outer diameter of the pot. I use T-bolt clamps to clamp the wood against the inner form. The T-bolt clamps need to extend to larger than the outside diameter but ratchet down to the the exact size of the diameter. This assures a little wiggle room to get the wood into the strap. Since I am working on an 11" pot I use one 5 1/2" and one 6" strap hooked together. I make two of these and place them around the large metal strap.

Now it is time to cut the wood to length. To figure where to cut the wood, just use the circumference x pi (C=pi x D) for each piece of wood. For example, my pot is 11" diameter, that would be 11 x 3.14159 = 34.56, so that is my cut. I like to cut the piece to length on the bandsaw with a slight angle for a better gluing surface.
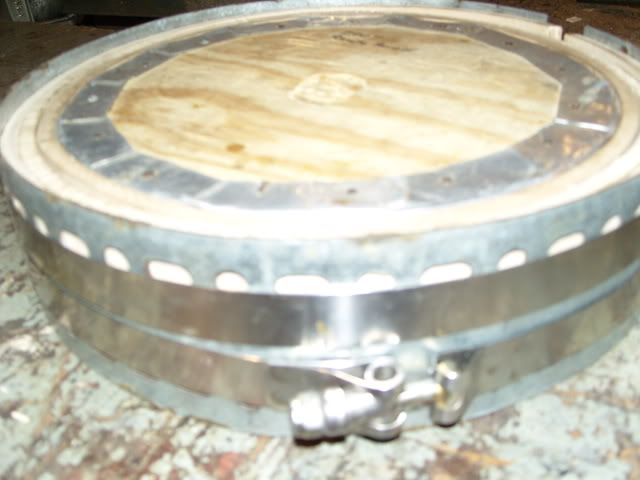


Now it is time to glue up the pot.

With the pieces cut to length, I do a dry run. I like to alternate the joints of the plies, for example, if I were to do a two ply pot, I would position the outer joint at 12 o'clock and the inner joint at the 6 o'clock position.
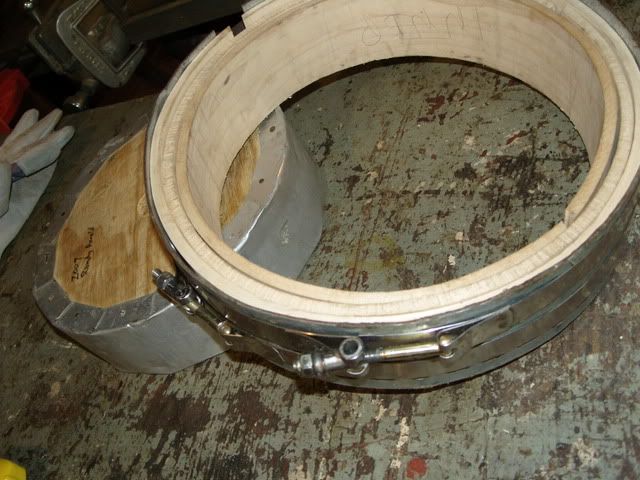


First, place the outer ring of the pot into the clamp at the 12 o'clock position. Follow with the other plies. Since I do a three ply pot, I would follow with the second ply at the 3 o'clock position and the third at the 6 o'clock position.
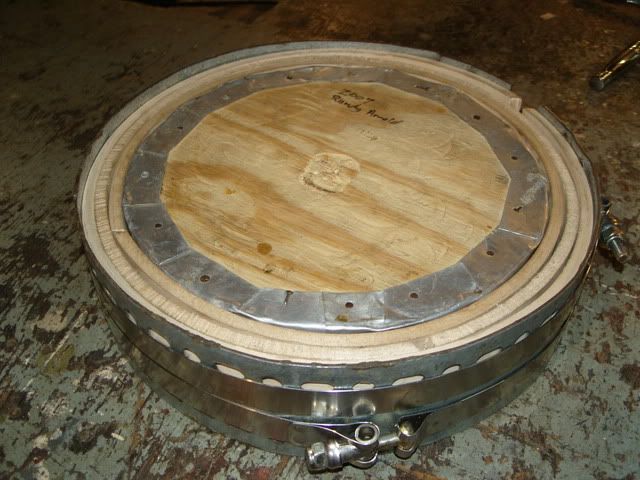


Place the inner form in the center and ratchet the clamps together. This presses the pieces against the inner form.

If it is a nice tight fit, loosen the clamps, spread glue on the pieces, re clamp the pot and let it dry overnight.

The key to the process is to take your time, take good notes, and have faith. It sounds more complicated than it actually is.


Monday, July 7, 2008

PEACHES


It's been awhile since the last post, but all is well. I've been traveling the slow and steady road forward.


The nicest thing that happened between posts was getting to spend some time with my dad on father's day. Amy and I traveled down to Pintlala for the weekend. We even got to play some dulcimer together.


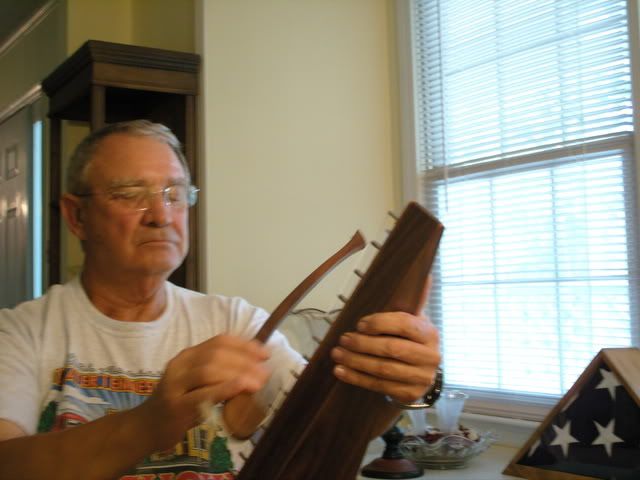
Here's a photograph of my dad playing a Bowed Psaltry that he built himself. As I mentioned in an earlier post, dad was an amazing woodworker.

I use the word 'talent' occasionally, but I don't really believe in it. I believe that anyone can do anything that they put their mind to, talent is not involved. My father was a great woodworker because he had the will, the desire and the patience to be successful.

I'm lucky in the fact that I got to see my father shape wood. I watched him design and build furniture. I attribute my woodworking ability to my father. Although he did not really show me the tools or how to use them, just by shaping the wood he showed me something far more important...he showed me the possibilities that the wood had to offer. What we need today, much more than talent, are possibilities.


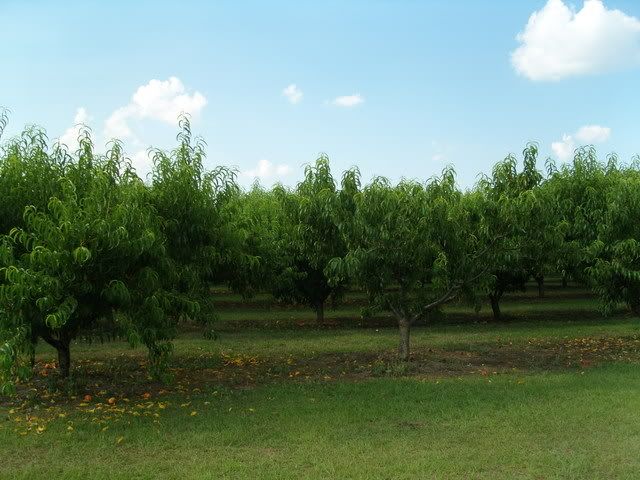
On the way home from Pintlala, Amy and I stopped in Chilton to get some fresh peaches. Chilton County is known throughout Alabama for their peaches. There must be dozens of peach orchards throughout Chilton County.


Since the beginning of this blog, I've made a bit of progress with my woodworking. I'm always tinkering with something, creating a new tool or jig that makes the process more efficient.

I have a new client, Nic, who has very specific needs for his banjo. Nic is a bluegrass player who is interested in playing clawhammer. Nic has requested an openback banjo, but with a similar feel to his bluegrass banjo. I thought that this would be a good opportunity to revisit the building process, to note the changes and improvements that have occurred.

Well, enough of all that. Let's roll up our shirt sleeves and get to work.


Let's steam bend some wood for the pot.


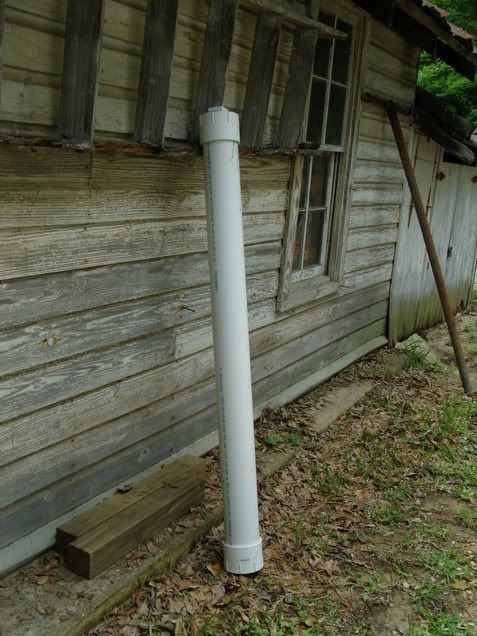
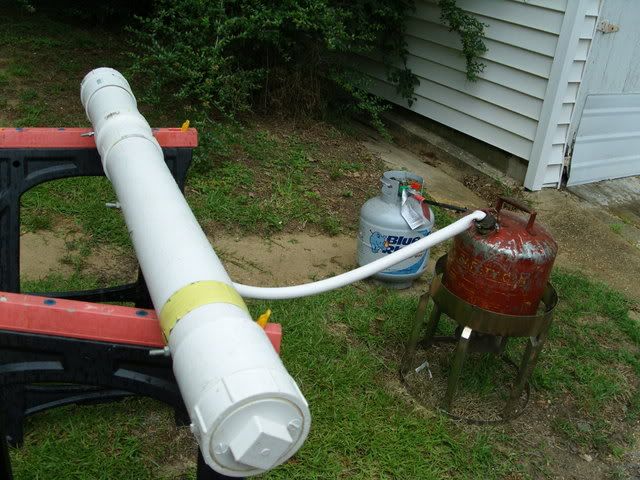
First I soak the wood to be steamed in a soakbox (above). I use 1/4" maple. The wood has been planed to the correct thickness and width, but not yet cut to length. My soakbox is nothing more than a PVC pipe cut to length and capped at both ends. This works very well. I soak the wood for a few days before steaming. This assures that the wood will thoroughly absorb the water. This will make the wood heat evenly, assuring a good bend.


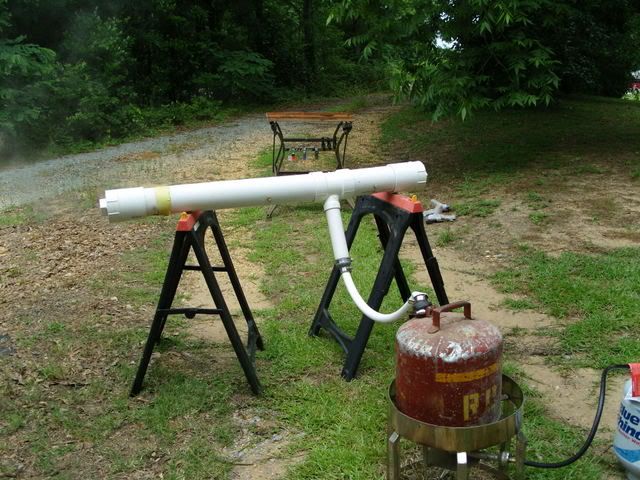
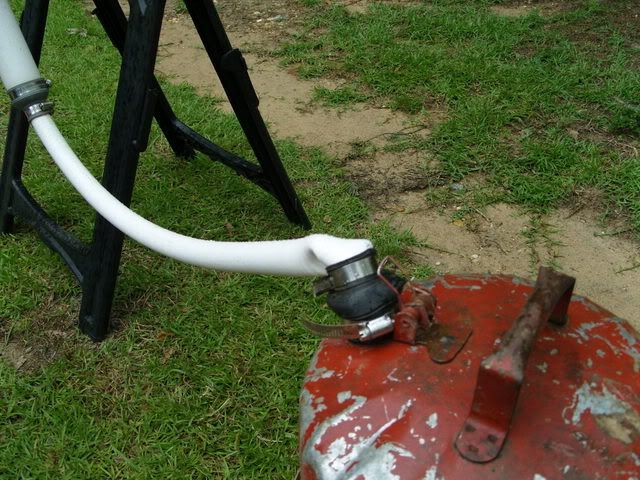
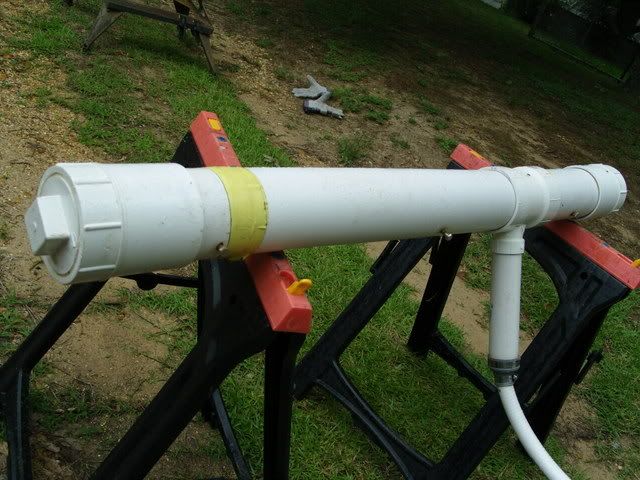
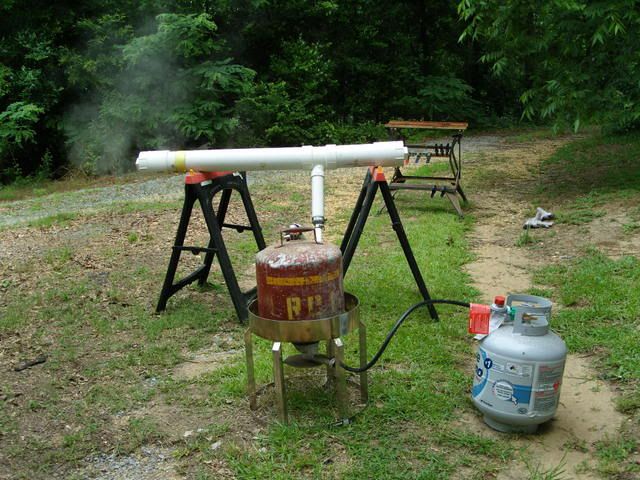
Above are some detailed photos of the steambox. The box works well, but I am limited to steaming only two pieces of wood at a time. That was plenty when I began, but now I find it is insufficient. To be limited to steaming just two pieces at a time is wasteful of time, energy and fuel.

But, that being said, as long as you're not going to be doing production work, this box will serve you well.

The photographs of the steambox are self explanatory. It's just PVC pipe cut slightly longer than needed, with a t-connection in the middle. I drilled holes through the PVC and inserted bolts to create shelves for the wood. A hose connects the box to a five gallon metal gasoline "safety" can. The can rests on a propane fueled turkey fryer. Just fill the gas can full of water and light the burner.

All of the parts and supplies should be available from your local hardware store. A burner works just as well as a turkey fryer, whichever is less expensive.

I place the maple in the box just before the water boils and let it steam for 30 minutes. Once the wood is removed from the box it must immediately be placed on a form to give it shape.

And that's all there is to building a steambox and steaming wood.

The followup to this post, the actual bending of the wood, will be posted within the week (lord willin' and the creek don't rise), so stay tuned. Feel free to post a comment if you have any questions or suggestions.

Also, my friend Brian Kimerer is building his second gourd banjo and posting the progress. He has a great site and can be found here