.JPG)


Have you ever had that strange feeling that someone was watching you as you worked?
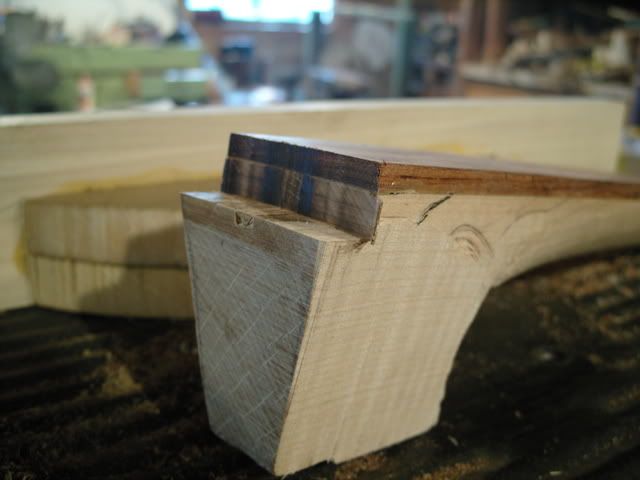
I had an email request to show how I create the curvature of the neck to match the pot.
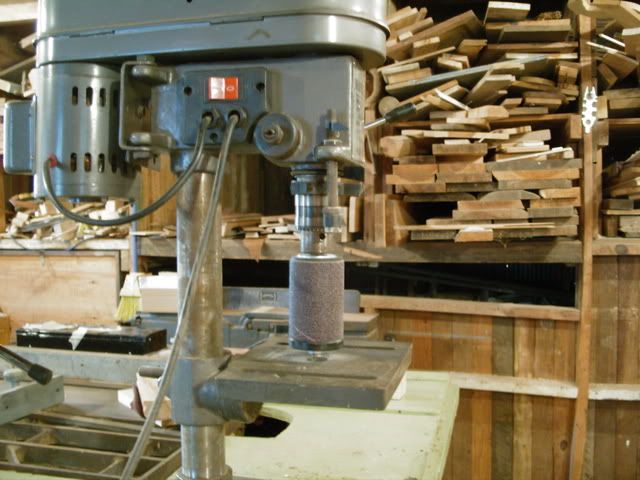
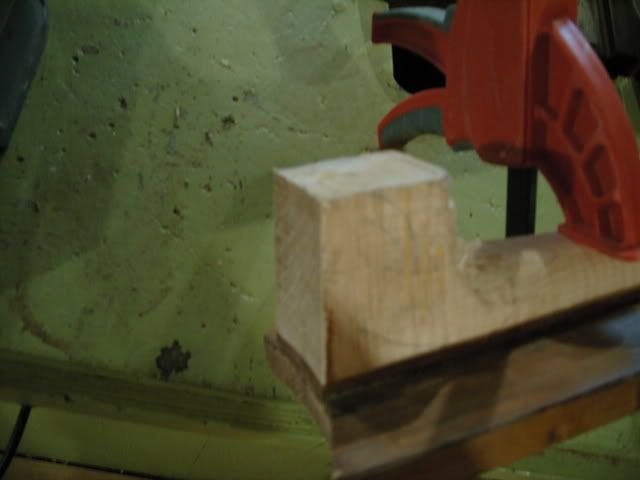
I create the curvature of the neck with a sanding drum mounted to a drill press. The bottom of the sanding drum has a guide attached to follow a pattern.
The neck is set on a 3 degree angle, this assures proper string tension.
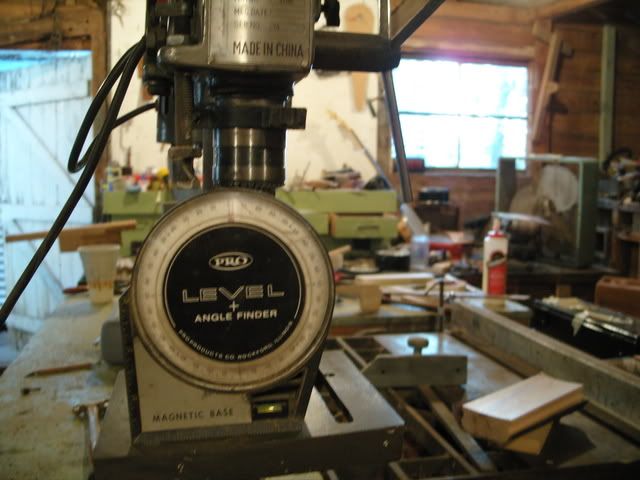
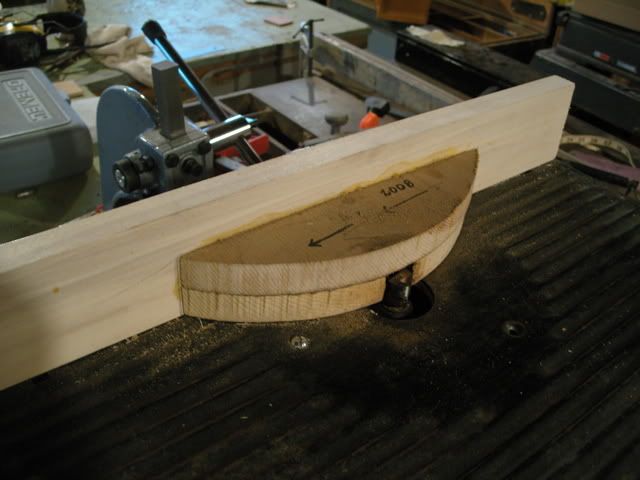
I created a guide for the sanding drum to follow. I transferred the curvature of the pot to the guide.
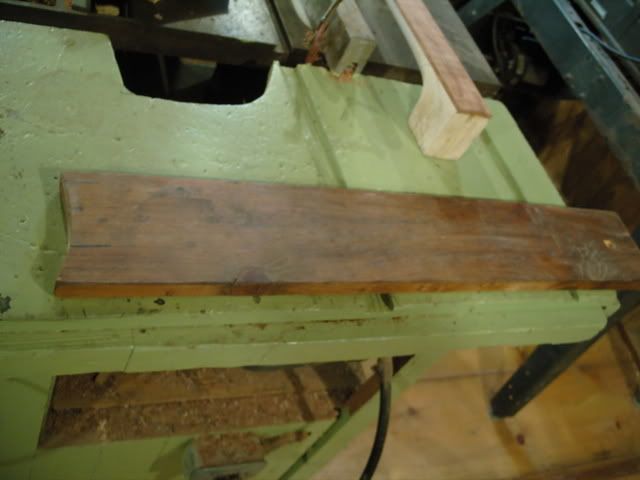
The form is the length of the neck.
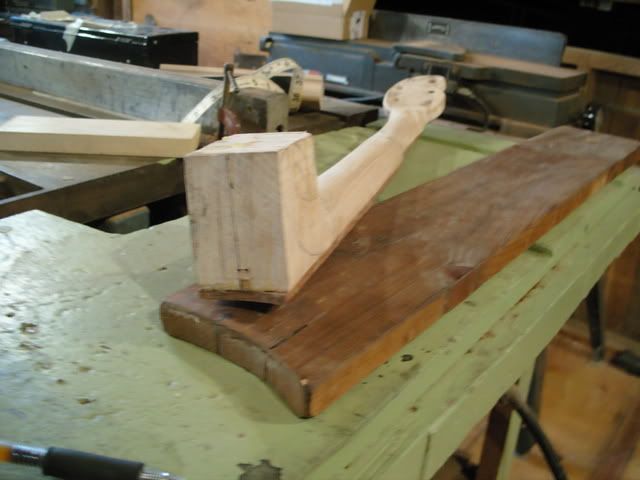
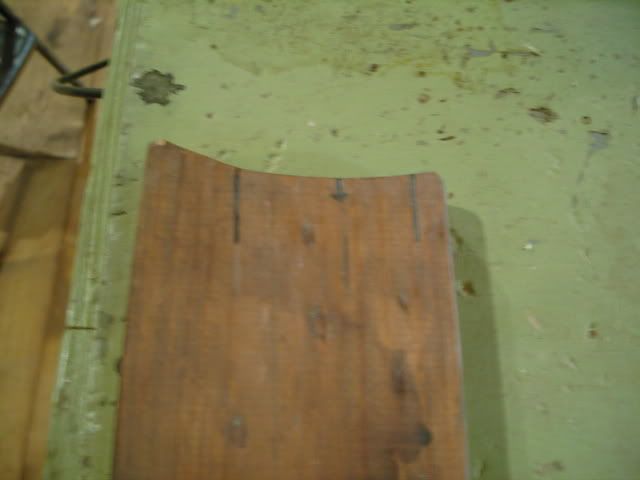
On the guide I have marked a center line. I match the center line of the guide with the center line of the neck.

Clamp the neck at the center...
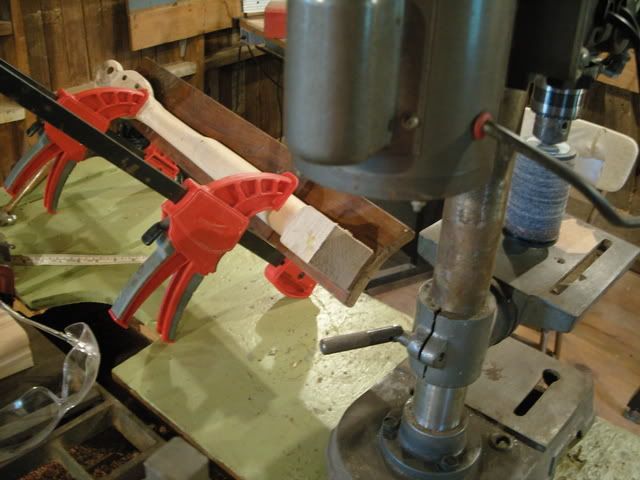
and sand away the waste...
to create the correct curvature.

I use a router to create the curvature for the tension hoop.
This jig replaces the router fence. It is the same curvature as the bracket band. By adjusting the fence, I can control the depth of the cut.
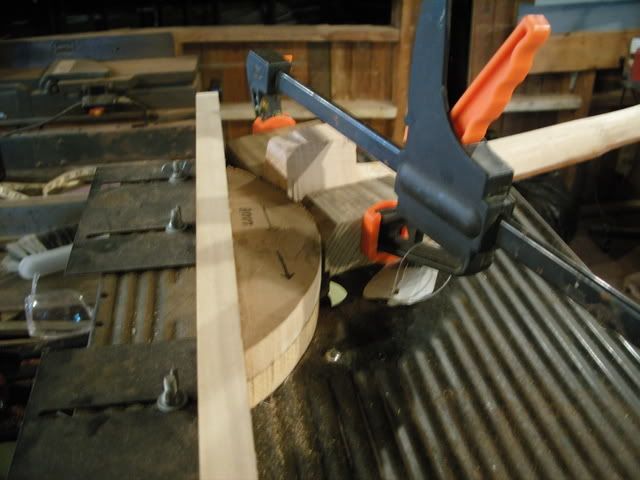
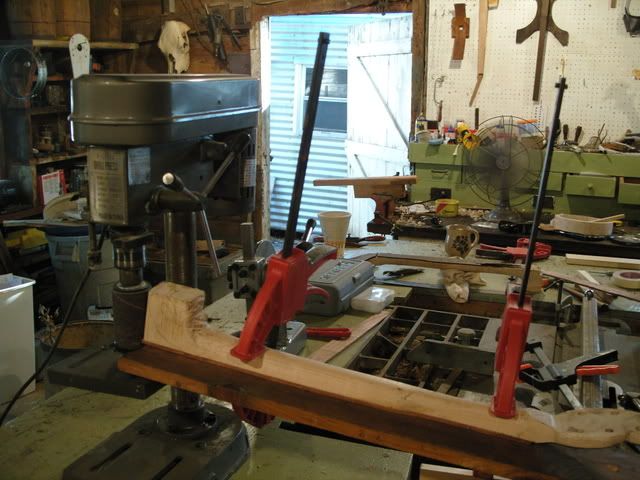
I clamp waste blocks to the neck to control tear out.

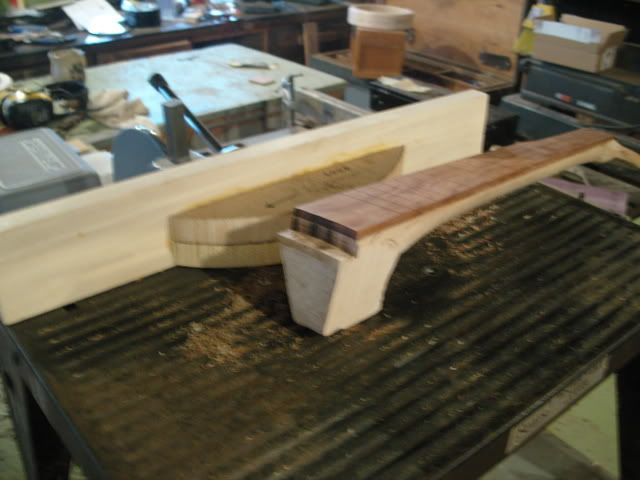
And a photo of the completed neck.
I still have to do some cleanup with sandpaper, and sometimes with chisels, but for the most part this system works pretty well.

No comments:
Post a Comment