.JPG)


This week I roughed out the neck of the banjo.
Below is a photograph of the block of wood that I am using.

I purchase my wood from a hardwood center about three hours from where I live. They have a nice selection, and I feel that it's important to inspect the wood for cracks or defects. I like to get enough wood to last awhile. I should be able to get about eight necks from this block.

To the left are the three blocks of wood that am using for this banjo. The darker piece to the left is a block of Ebony. next to that is a piece of African Rosewood. They are both resting on the piece of hard Maple. I use the Maple for the pot and neck. The Ebony is used for the peghead and fingerboard. The Rosewood will be used for a cap around the bottom of the pot. The Rosewood cap adds a finished look to the banjo, but has no effect on the sound or playability of the instrument.
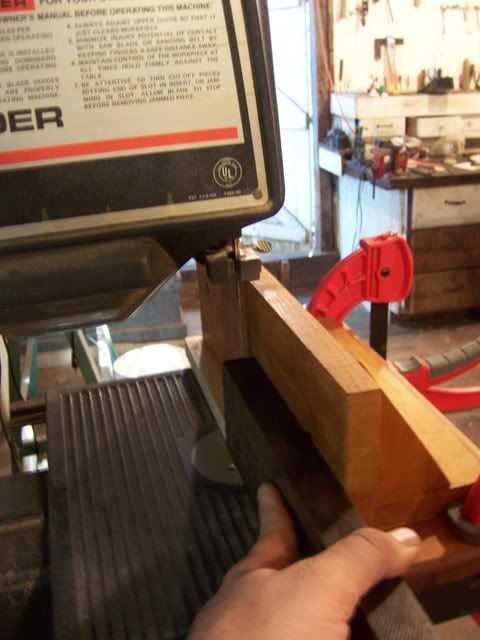
 Here I am cutting the neck from the block of Maple.
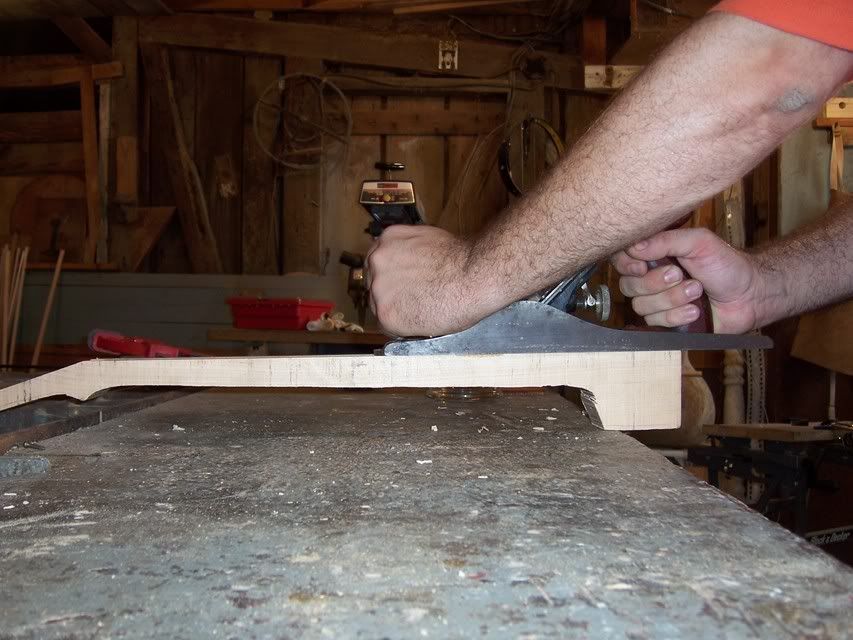 After the neck is free from the block if maple I smooth the top with my grandfather's old plane. This is the area where the fretboard will attach, so it is important for this area to be as
 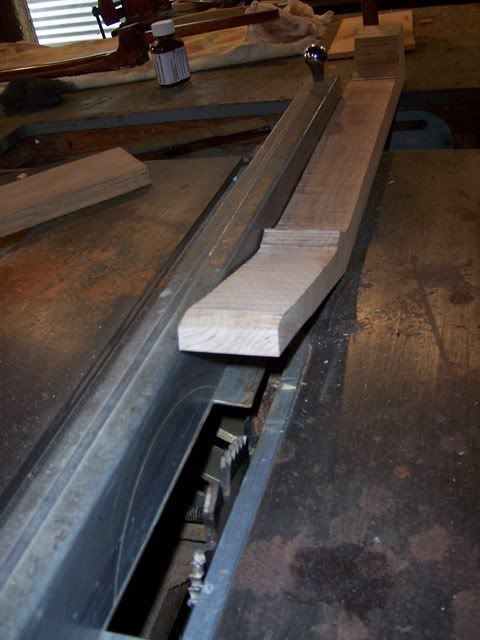 smooth as possible.
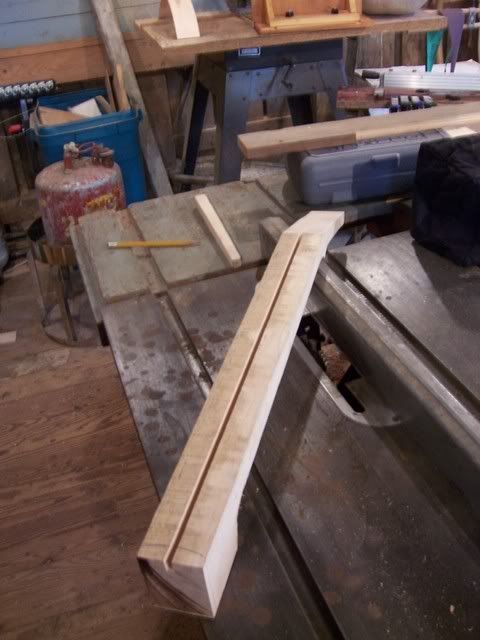
Next I cut a groove through the middle of the neck. This groove will hold the truss rod. The truss rod adds strength to the neck, as well as making it possible to adjust the neck should it ever warp.
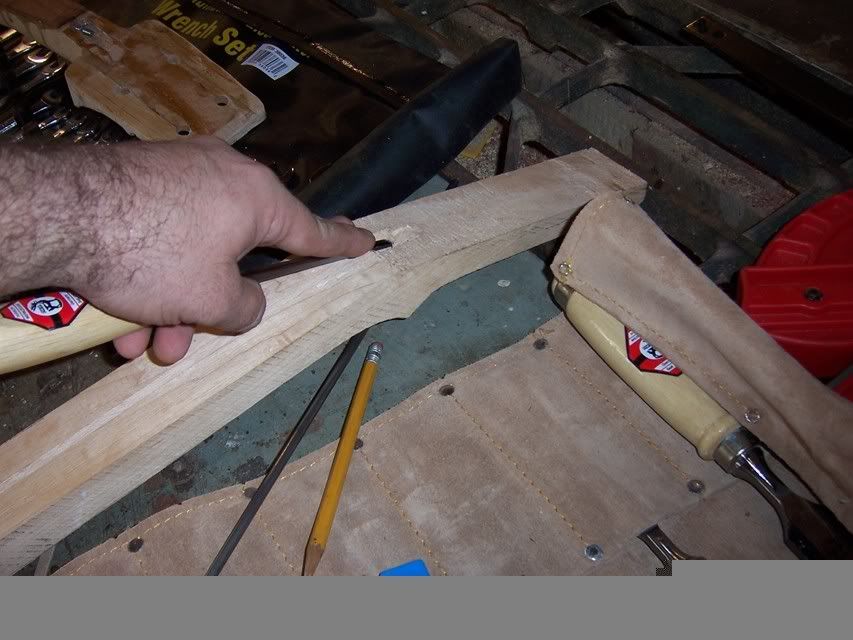
And Here's the neck, roughed out with a groove ready to accept the truss rod.
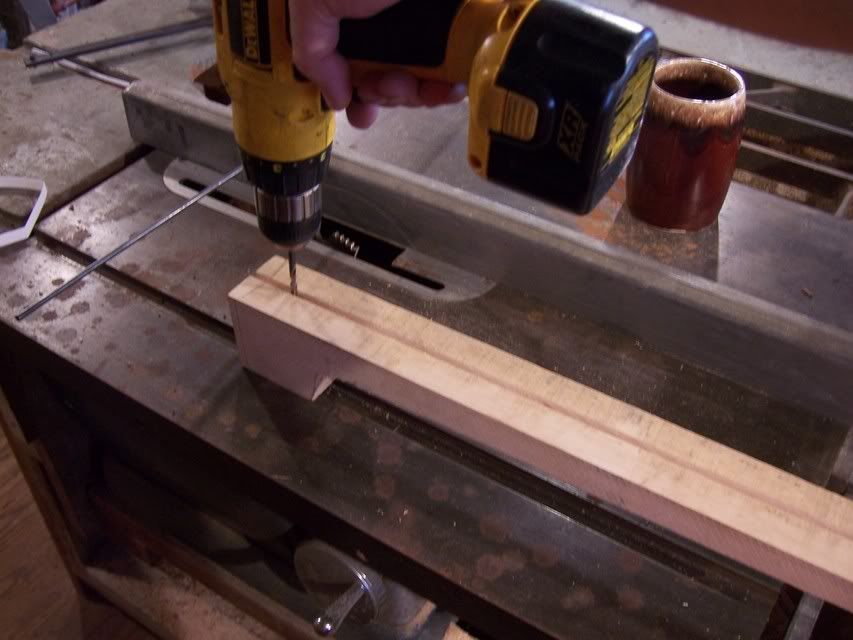
A hole is drilled to anchor the truss rod. The truss rod, by the way, is just a fancy way of saying "a piece of metal rod incorporated into the neck." It's easier to say, also. I use a piece of 3/16" rod.
 Here I am carving out a section of the peghead where the end of the truss rod will be exposed.
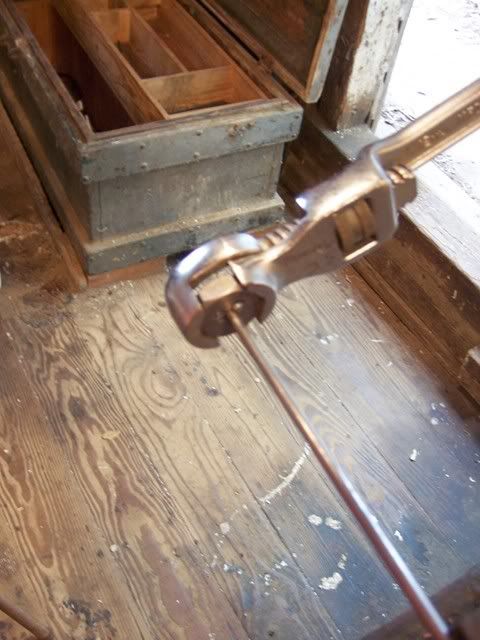
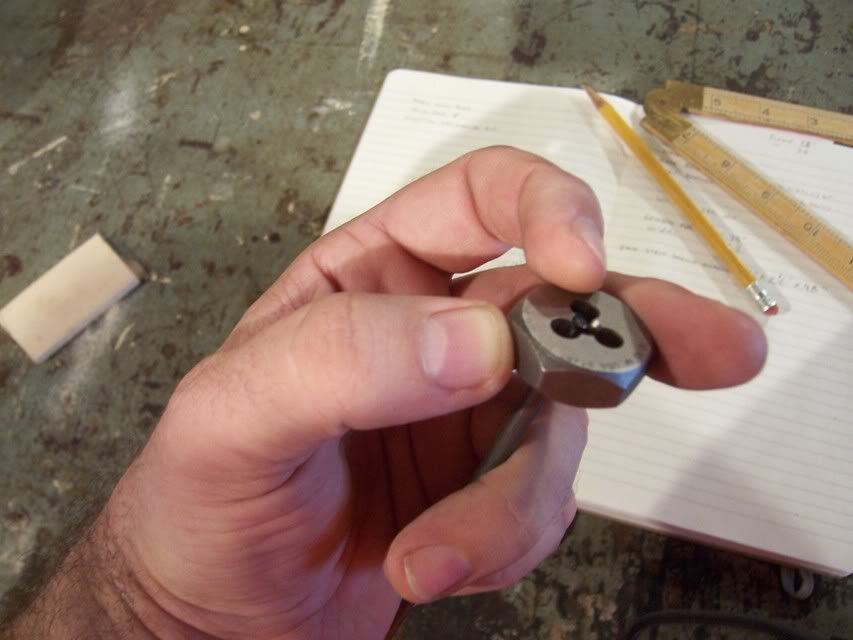
In the photo to the left I am threading the truss rod. To the right is a close-up of the die I use to cut the grooves.
And now it is time to remove the fingerboard from the Ebony.
 I built this jig to re-saw wood. I can adjust the jig to cut any thickness needed. The maple strips on the bottom create a platform for the wood being fed through the blade, and keeps the blade steady so it doesn't "wander."
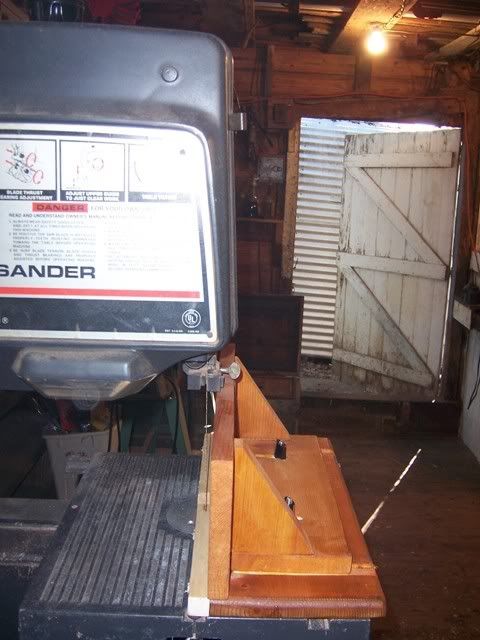
 Here is a better view of the re-saw jig attached to the band-saw
Here I am feeding the Ebony into the Band-saw. Contrary to popular belief, making small pieces of wood from larger pieces of wood is actually quite boring.
And here is the neck so far. Not quite ready for a night out on the town, but looking better.


No comments:
Post a Comment