.JPG)


As I have mentioned in an earlier post, the first Thursday of each month is art night in downtown Northport. It's the time that the galleries have their openings and stay open at night. The last art night I met Robert playing jazz in front of the barbershop. Amy and I stopped to listen and talked to Robert for a bit.
I feel lucky to live in Northport. Being from, and living in a small community, where we know our neighbors, has instilled small town values. But living next to a large university (University of Alabama), offers me opportunities and resources that I would not otherwise have.
I recently took part in a political survey. At the end of the survey I was asked weather I considered myself rural, urban or suburban. I've never really thought about it, and I really didn't know how to answer.
I'm not rural. I live in a small town next to a medium town that houses a large university, so I wouldn't say I'm rural. I'm certainly not urban, and, although I live next to Tuscaloosa, Northport is not a suburb of Tuscaloosa, so I'm not suburban. I feel like I am something else, something without a name, perhaps. A mixture of the three, if possible.
So, I guess I'm going through an identity crisis of sorts.
What's in a label? Shakespeare sort of asks. Beats me. If I find one I'll try it on for size and let you know how it fits. People want to pigeonhole us too much anyway.

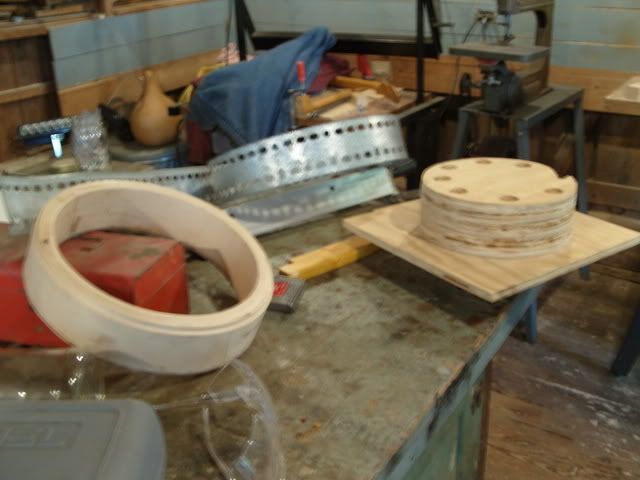
As promised...let's bend some wood.
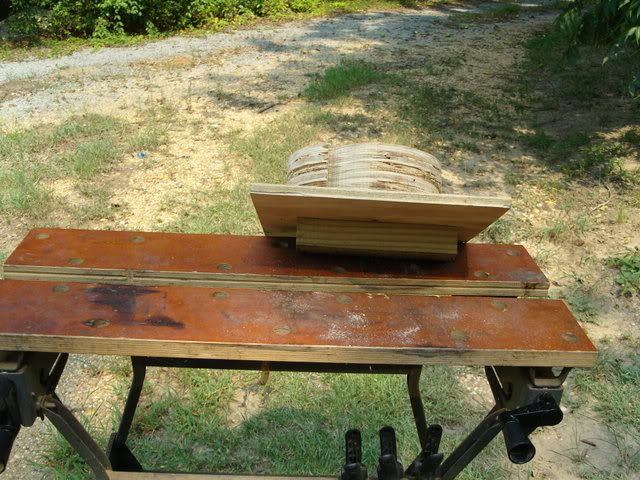
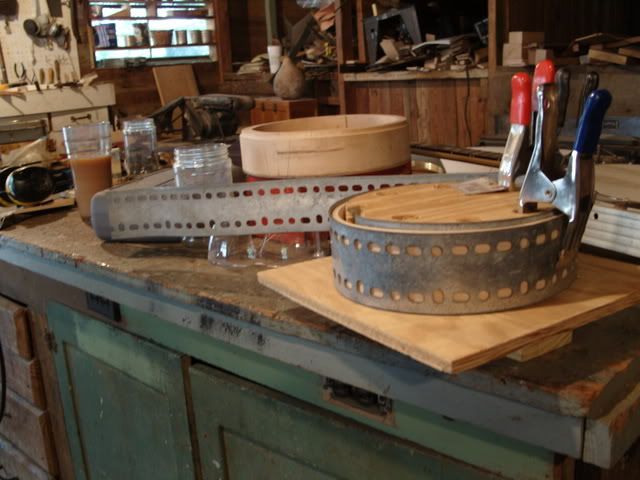
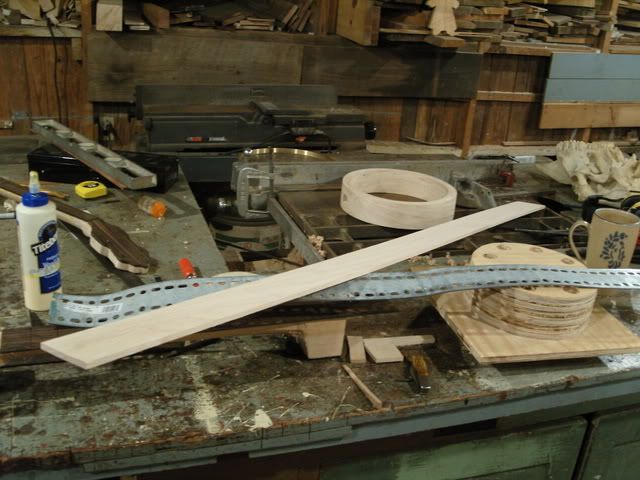 Above is a photo of the supplies that I will use to bend. The wood for the pot, the form to bend it around, and a metal strap to keep the wood from cracking as it bends.
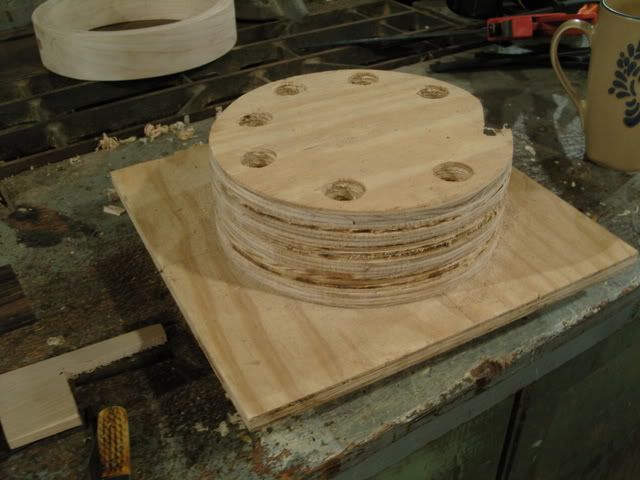

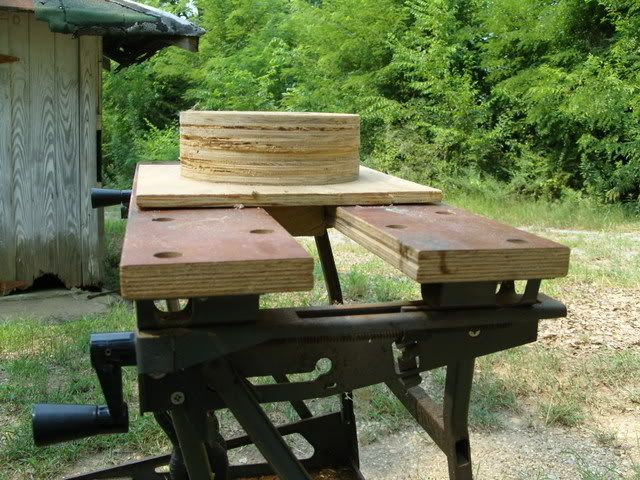
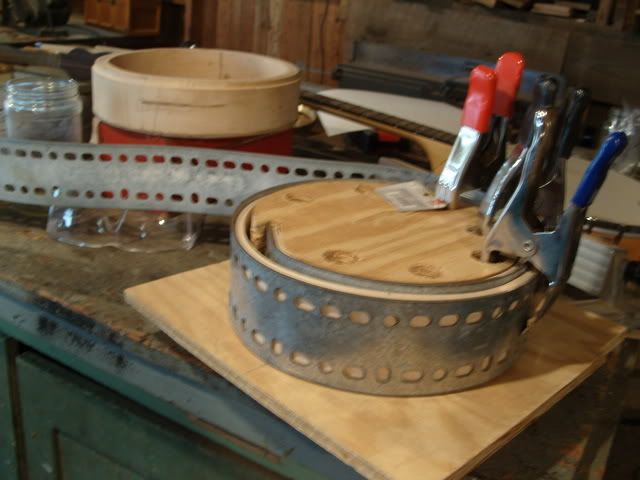
Above are a couple of photographs of the bending form that I use.
The forms are made from three pieces of plywood glued together for a height of 2 3/4" The measurements of the form don't have to be exact, just as long as it is as tall as the width of the wood being bent. The width of the form is 8 1/2," but once again, this doesn't need to be exact, I'm just trying to get the wood used to the idea of being round.
I cut a notch in the form, something that the wood for the pot can anchor to as it bends. I also cut some 1" holes to accept spring clamps. This holds the wood in place as it dries.
I attach this form to a base.

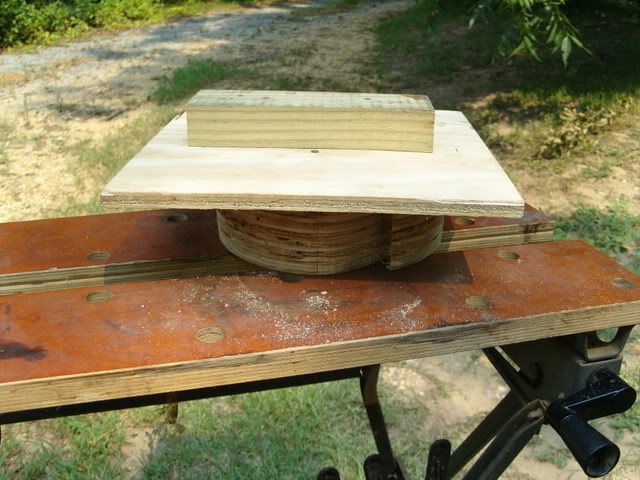
Attached to the bottom of the form is a piece of wood so it can be clamped to my workmate.
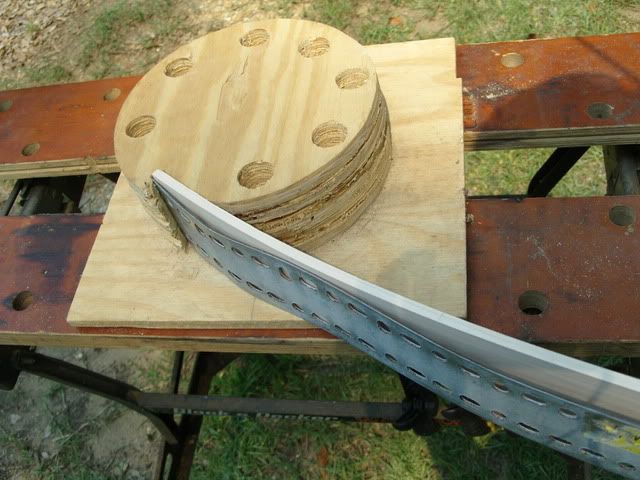
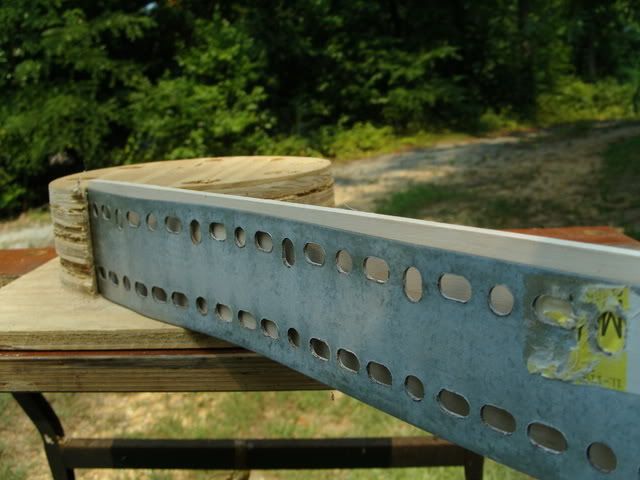
Once the wood has steamed for the appropriate amount of time, remove the wood from the steambox and, while holding the wood against the metal strap, place it into the notch in the form. I walk around the workbench, bending the wood around the form. Once the wood is around the form, fasten it to the form with spring clamps.
Try to work quickly, the wood is pliable for a short amount of time. Don't rush, but work steadily and with purpose.
Wear thick gloves, the wood and the steam are very hot.
One thing that I feel I should say here. As with most everything on this blog, I worked this stuff out through trial and error. I found what works for me, but I'm not encouraging anyone to use this information or suggesting that any of this is safe, so please be careful and use this information at your own risk.

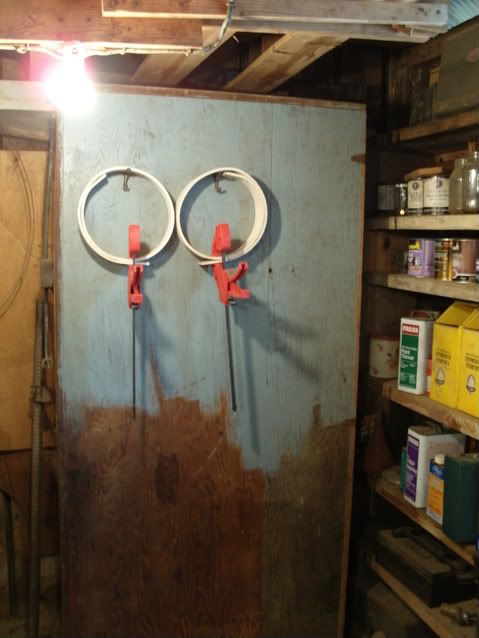
After the wood is secured to the form it is left to dry.
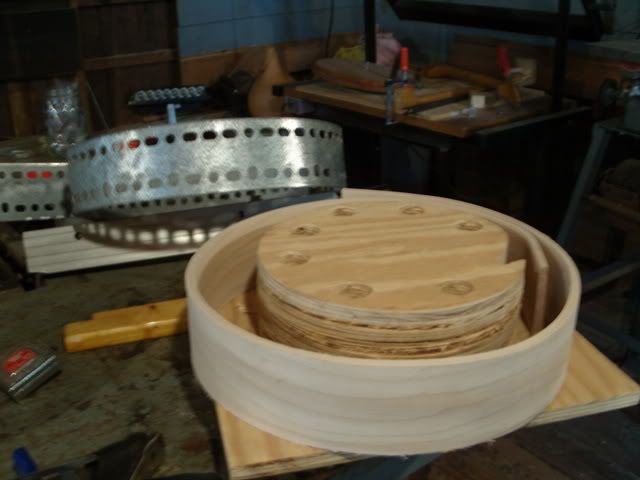
After a couple of days the wood will develop a "memory..."
and be set aside.
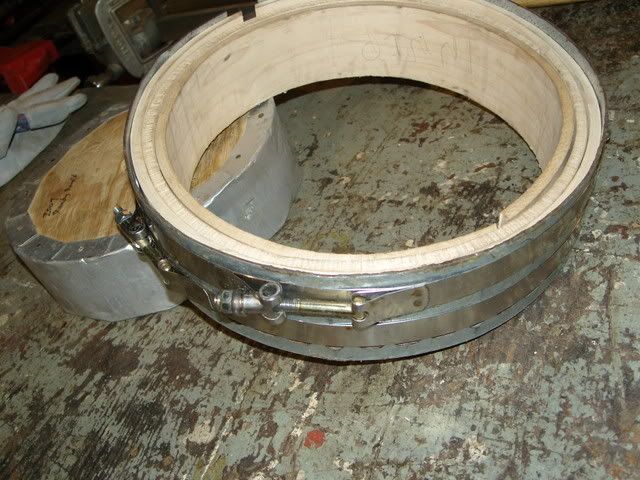
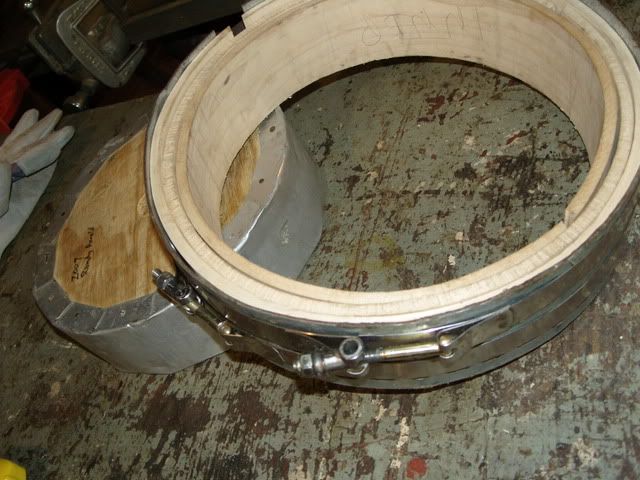
It is time to make some decisions about the pot, to decide how thick, how tall, and the circumference.
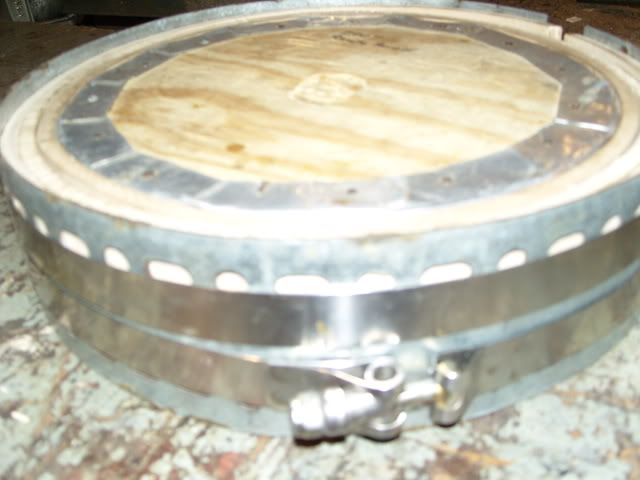
I use an 11" pot that is 3/4" thick and 2 1/2 tall. That makes the inner diameter 9 1/4," so I must build a form 9 1/4" wide and 2 1/2" tall. I use three pieces of plywood cut in a circle and glued together to make the form, I then tack aluminum shim stock to the outside of the form to keep the pot from attaching itself to the form during glue up.
For the outer strap I use the same strap material that I use for bending. I cut the strap to the length of the outer diameter of the pot. I use T-bolt clamps to clamp the wood against the inner form. The T-bolt clamps need to extend to larger than the outside diameter but ratchet down to the the exact size of the diameter. This assures a little wiggle room to get the wood into the strap. Since I am working on an 11" pot I use one 5 1/2" and one 6" strap hooked together. I make two of these and place them around the large metal strap.
Now it is time to cut the wood to length. To figure where to cut the wood, just use the circumference x pi (C=pi x D) for each piece of wood. For example, my pot is 11" diameter, that would be 11 x 3.14159 = 34.56, so that is my cut. I like to cut the piece to length on the bandsaw with a slight angle for a better gluing surface.
Now it is time to glue up the pot.
With the pieces cut to length, I do a dry run. I like to alternate the joints of the plies, for example, if I were to do a two ply pot, I would position the outer joint at 12 o'clock and the inner joint at the 6 o'clock position.
First, place the outer ring of the pot into the clamp at the 12 o'clock position. Follow with the other plies. Since I do a three ply pot, I would follow with the second ply at the 3 o'clock position and the third at the 6 o'clock position.
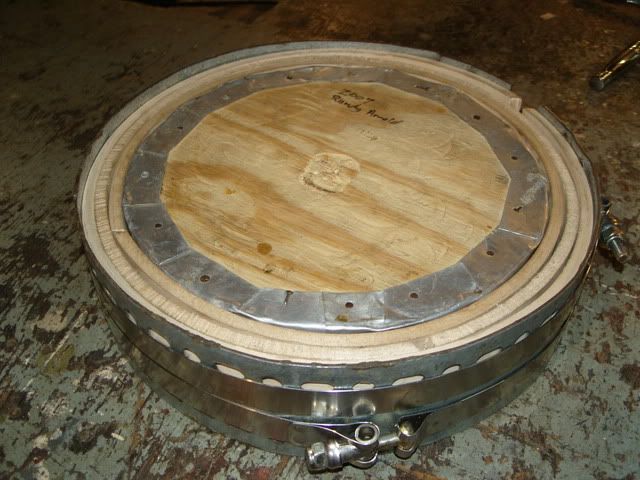
Place the inner form in the center and ratchet the clamps together. This presses the pieces against the inner form.
If it is a nice tight fit, loosen the clamps, spread glue on the pieces, re clamp the pot and let it dry overnight.
The key to the process is to take your time, take good notes, and have faith. It sounds more complicated than it actually is.


No comments:
Post a Comment