.JPG)


I did a lot of sanding. I actually have a rocking chair that I put outside of the shop to make the sanding more enjoyable. It helped. This was the first time that I enjoyed sanding. It is important to go through several grits of paper to get the proper finish. Best to just let go and float downstream.
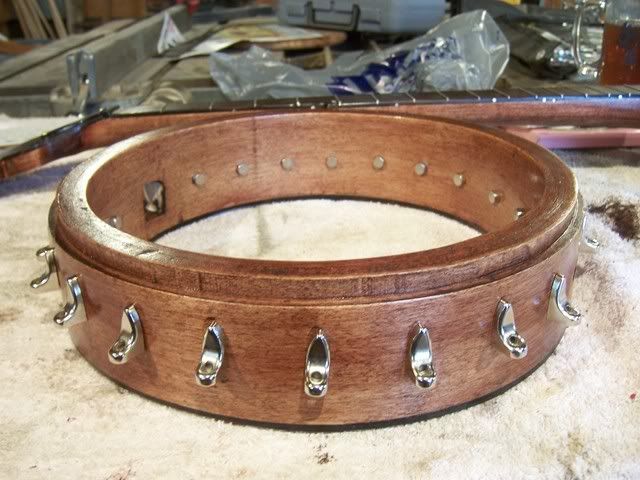
After sanding it was time to apply the stain. I used a red mahogany, only one coat. I let the stain soak into the wood for about five minutes then wiped it off with a clean rag. The longer the stain is left on, the darker the stain.

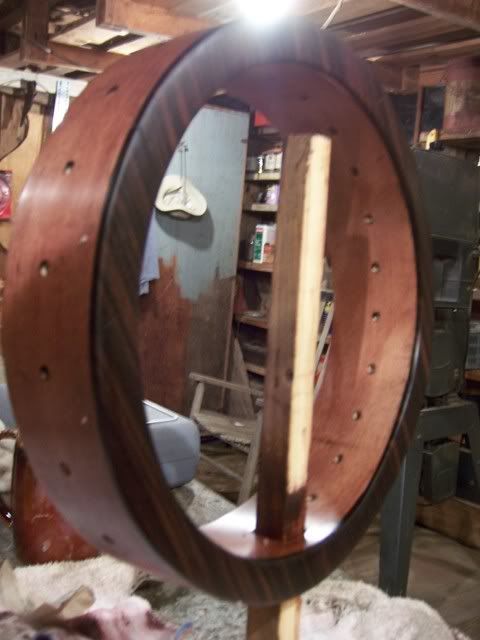
Here you can see the stand that I built to hold the pot while I apply the finish. The stand is the same size as the dowel rod, only slightly wider toward the base so that the holder does not touch the inside wall of the pot. I can wipe on an entire finish on the pot at one time so there is no overlap.
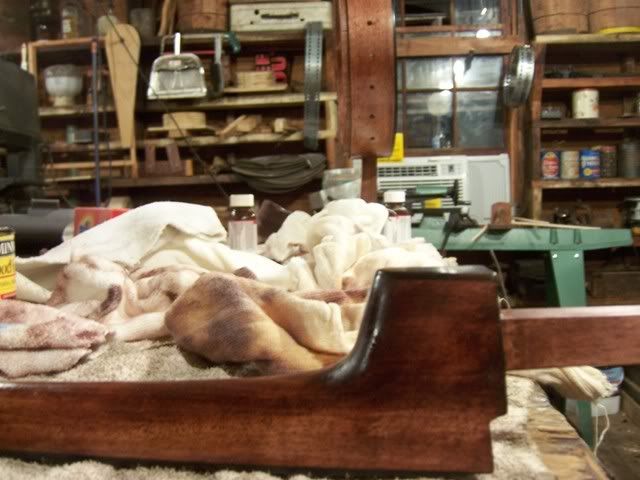
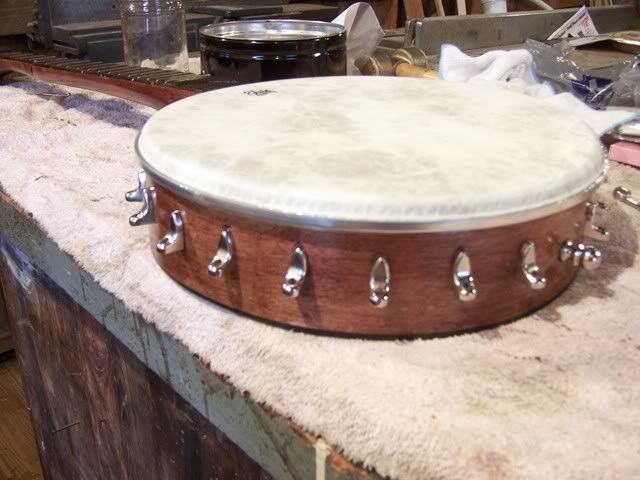
After the stain has been applied and dried overnight, I applied a True Oil finish. True Oil is used on gunstocks. It leaves a nice finish and is built to be durable. A banjo is a social instrument, it's meant to be taken out and played with Friends and at festivals. I applied a finish that you don't have to think about. Wipe the dirt off every once in a while. Maybe apply some lemon oil or some pledge, and your good to go.
I applied three thin coats of True Oil. It only takes four hours to dry (I give it a lot more), so I can apply a coat in the morning, go about my day, and apply another coat at night, repeating the next morning.
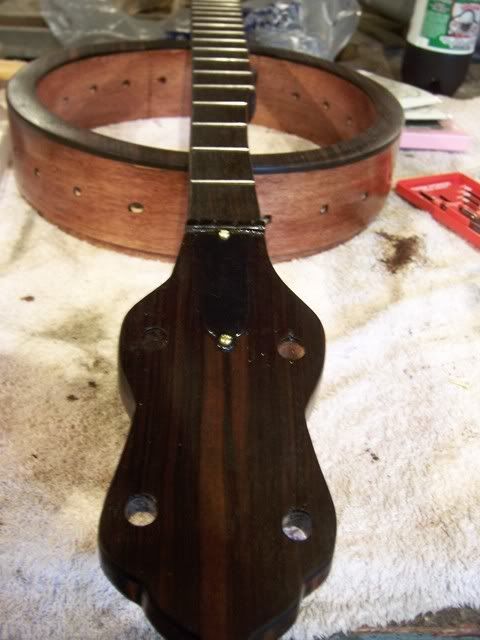
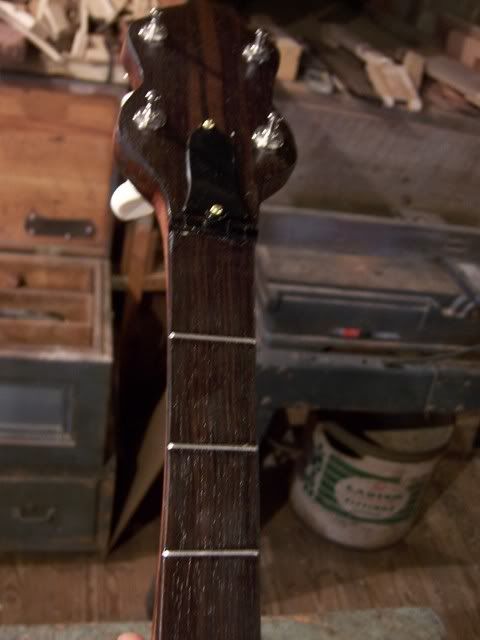
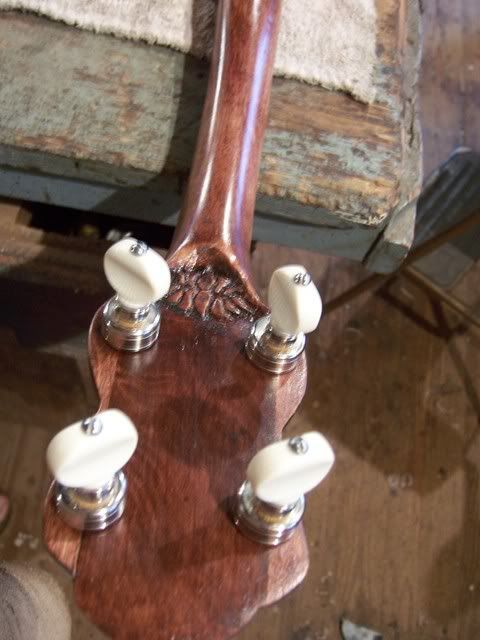
After the True Oil had dried on the peghead, I installed the truss rod cover.
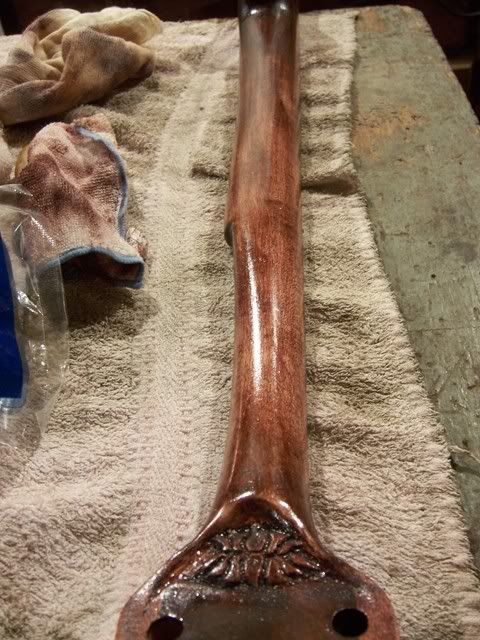
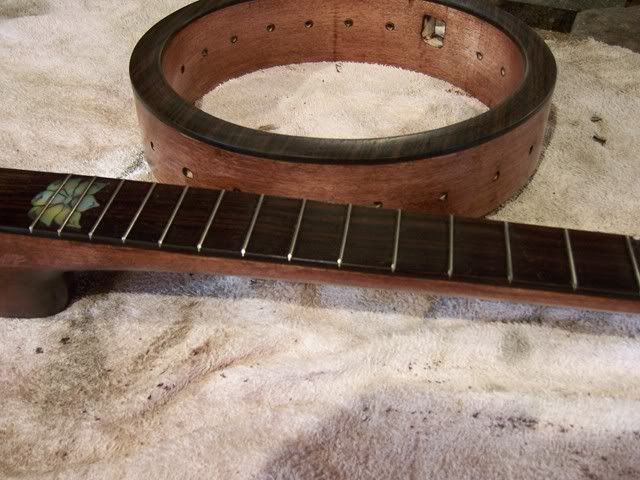
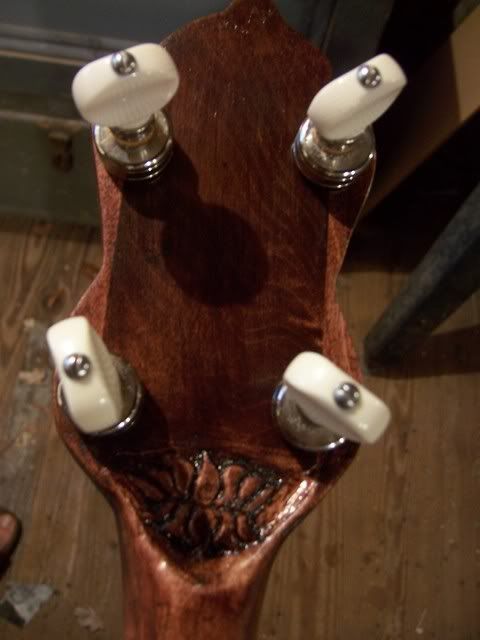
Here you can see the neck with lotus carving after two coats of True Oil.
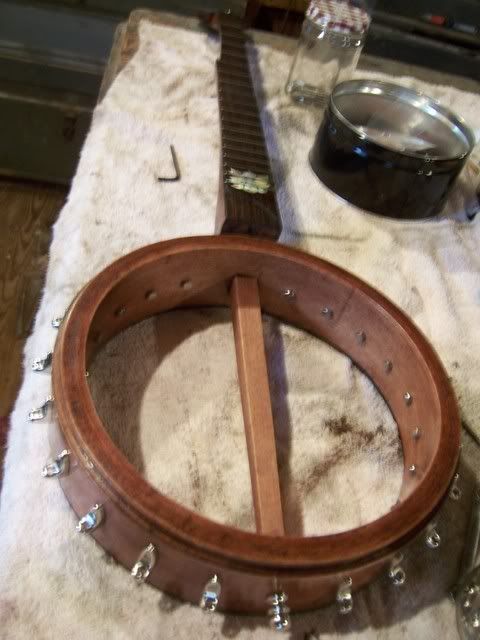
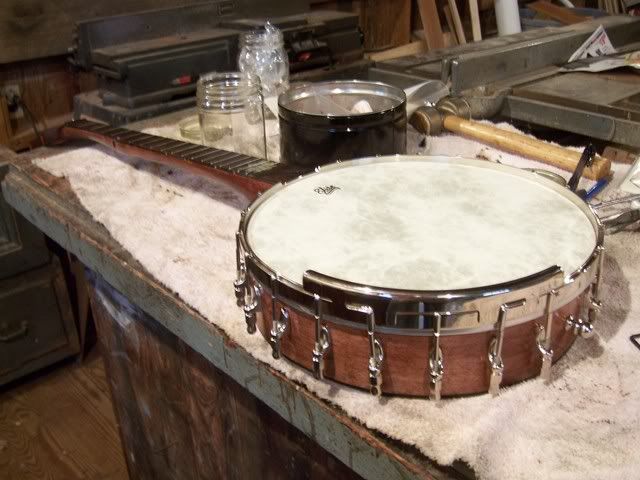
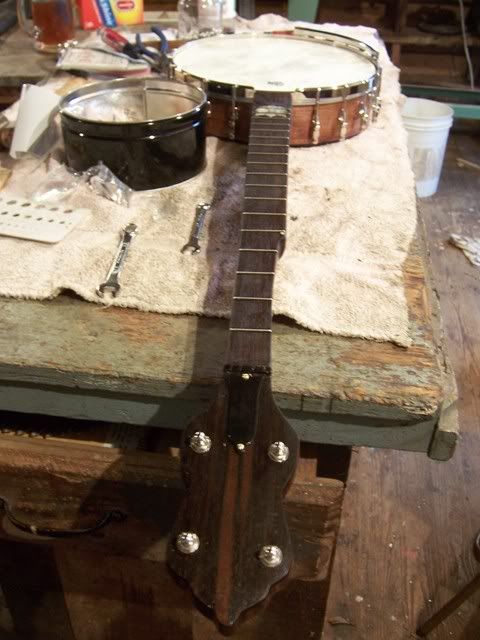
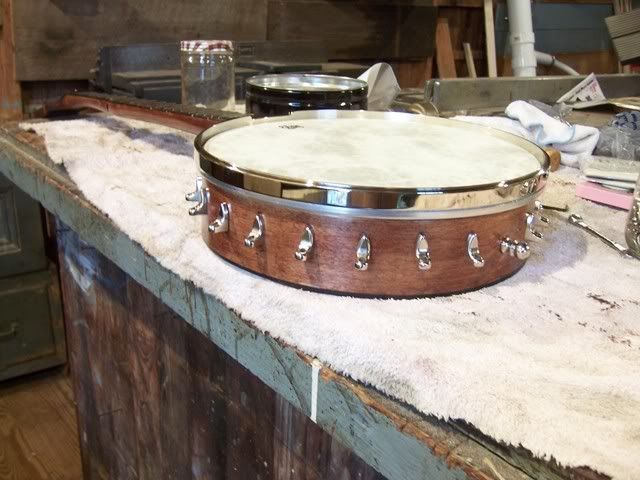
After everything had dried, it was time to assemble the banjo. I put the entire instrument together and checked to make sure everything was properly adjusted, that it played well and it had a nice tone. Once I was certain that everything was perfect, I marked the dowel rod so I could install the neck brace.


After everything had dried, it was time to assemble the banjo. I put the entire instrument together and checked to make sure everything was properly adjusted, that it played well and it had a nice tone. Once I was certain that everything was perfect, I marked the dowel rod so I could install the neck brace.
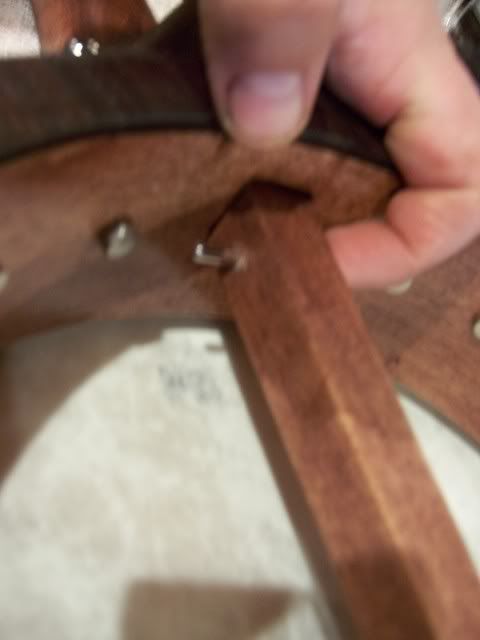
I put it all together & played it to make sure everything was perfect. Then I marked where to drill the hole for the Dowel rod hardware.
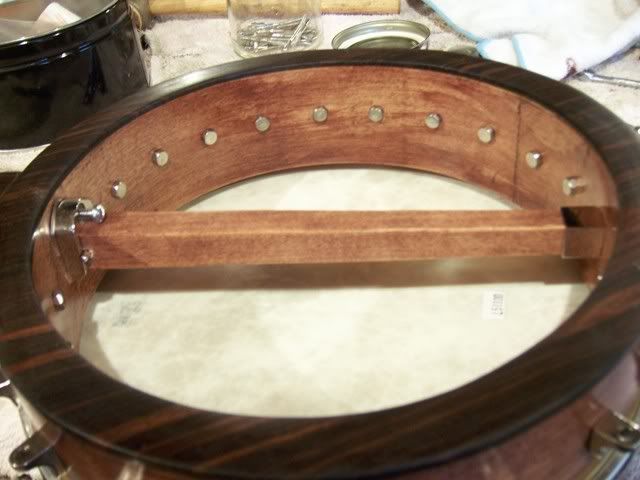
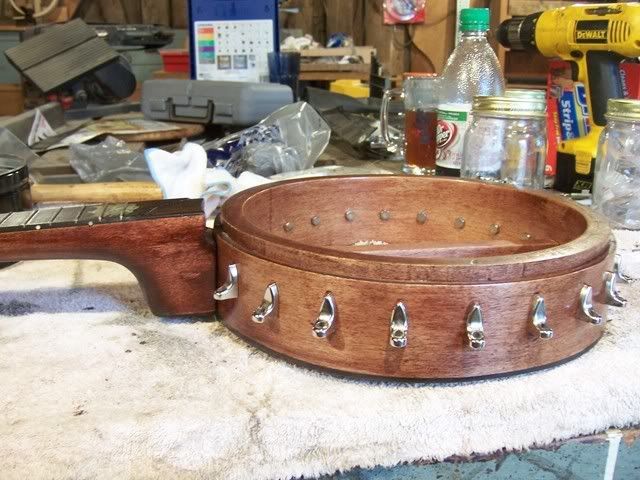
After marking the spot, I removed the neck and drilled a hole for the metal rod that anchors the hardware
The photo below shows the hardware installed. This hardware pulls the neck tight against the pot so there will be no "drift" in tone as pressure is applied to the neck during normal play.
Almost there!!!

No comments:
Post a Comment