Saturday, December 29, 2007

Approaching an End

Well, we're approaching the end. All that remains is to apply the finish and put it all together.


I did a lot of sanding. I actually have a rocking chair that I put outside of the shop to make the sanding more enjoyable. It helped. This was the first time that I enjoyed sanding. It is important to go through several grits of paper to get the proper finish. Best to just let go and float downstream.
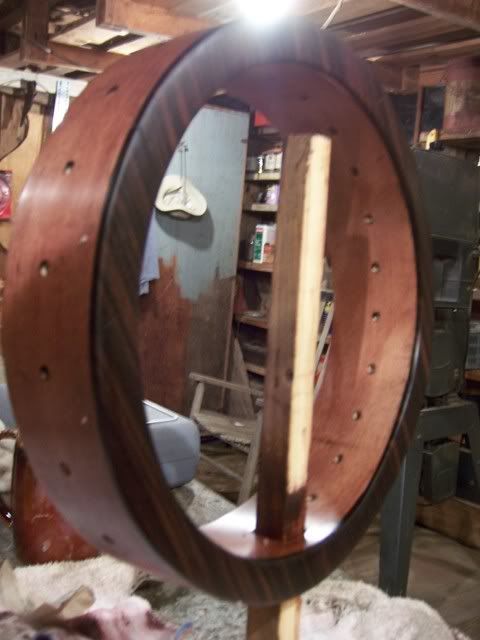


After sanding it was time to apply the stain. I used a red mahogany, only one coat. I let the stain soak into the wood for about five minutes then wiped it off with a clean rag. The longer the stain is left on, the darker the stain.


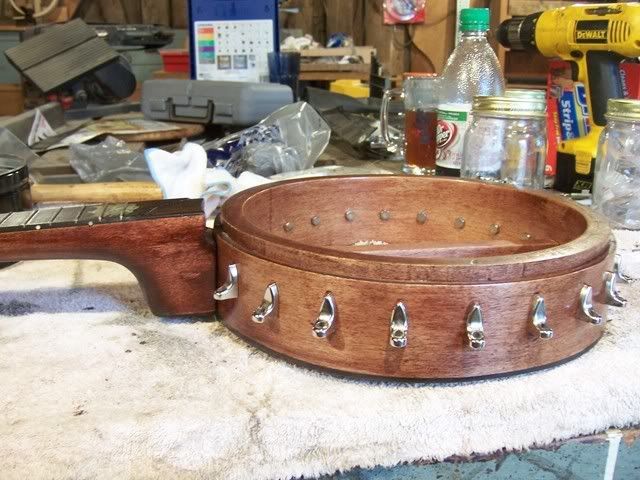
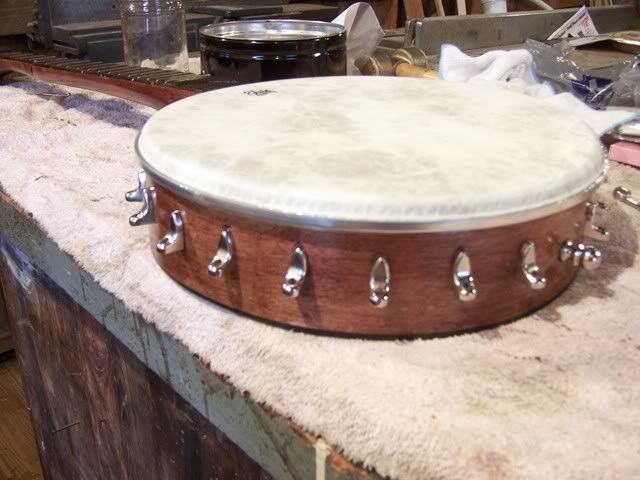
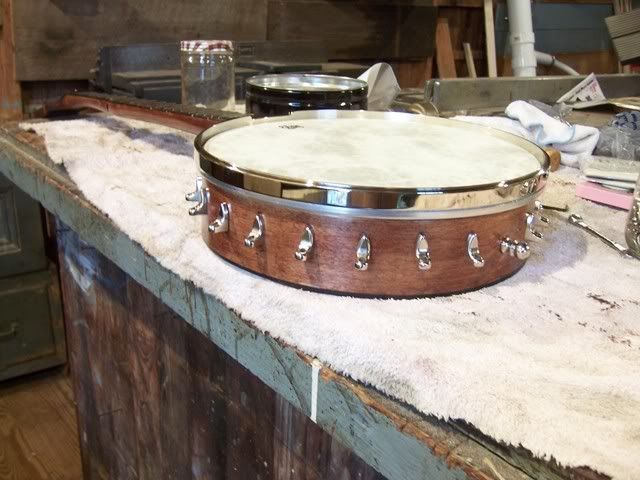
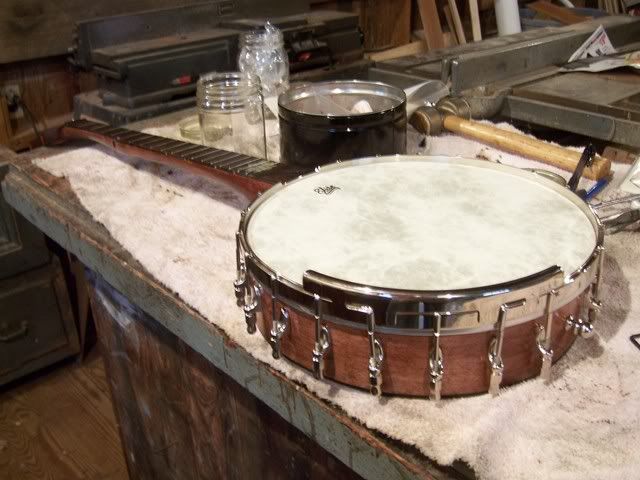
Here you can see the stand that I built to hold the pot while I apply the finish. The stand is the same size as the dowel rod, only slightly wider toward the base so that the holder does not touch the inside wall of the pot. I can wipe on an entire finish on the pot at one time so there is no overlap.
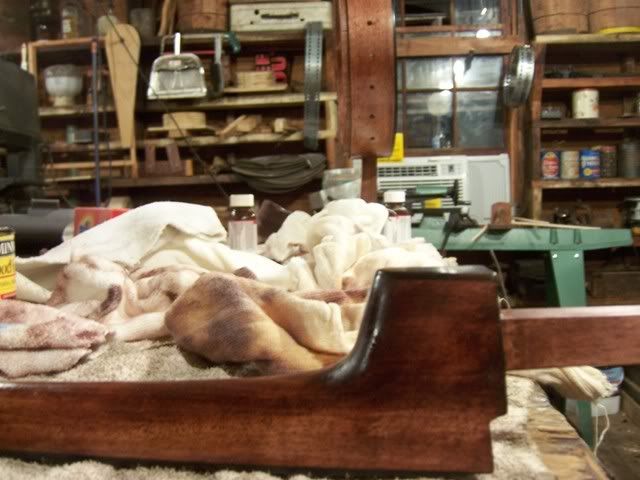


After the stain has been applied and dried overnight, I applied a True Oil finish. True Oil is used on gunstocks. It leaves a nice finish and is built to be durable. A banjo is a social instrument, it's meant to be taken out and played with Friends and at festivals. I applied a finish that you don't have to think about. Wipe the dirt off every once in a while. Maybe apply some lemon oil or some pledge, and your good to go.
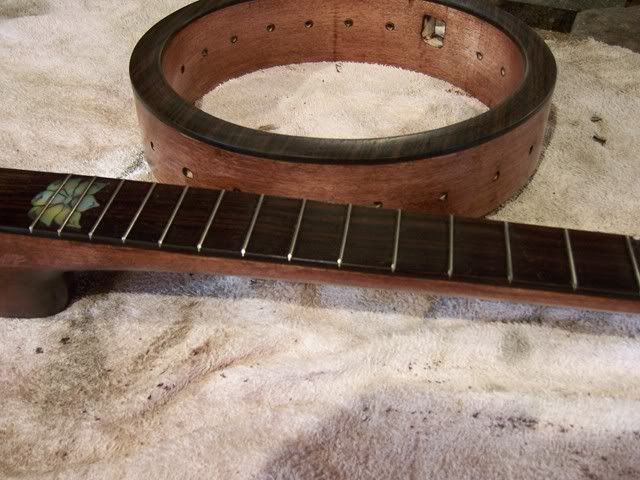


I applied three thin coats of True Oil. It only takes four hours to dry (I give it a lot more), so I can apply a coat in the morning, go about my day, and apply another coat at night, repeating the next morning.
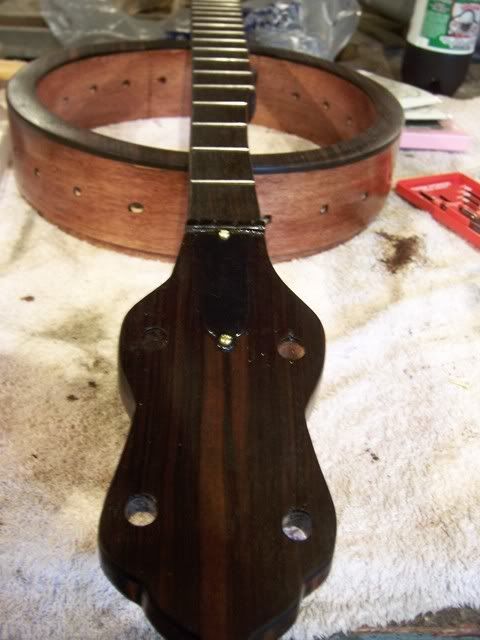
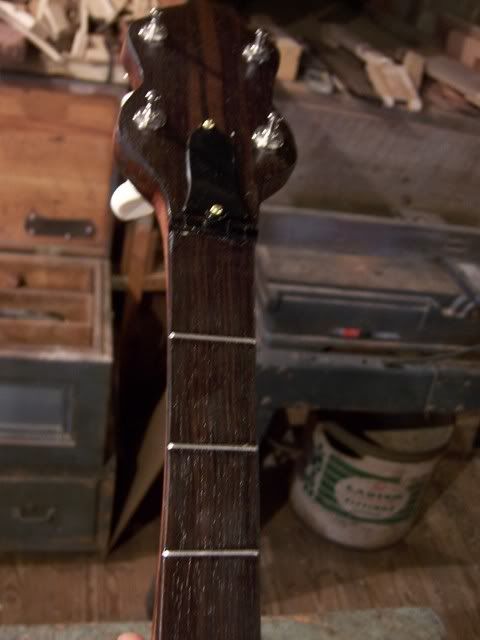
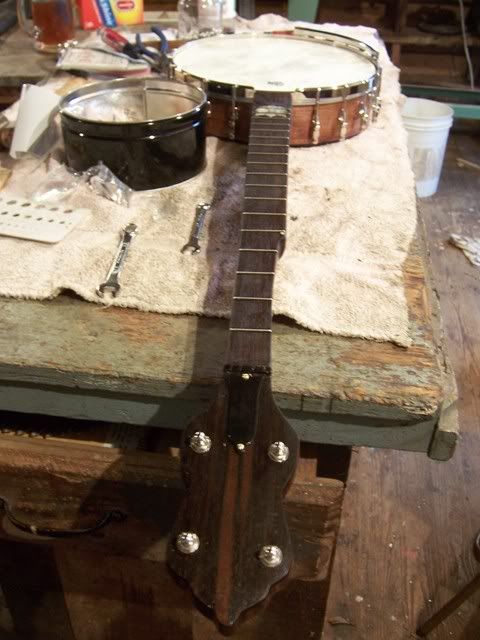
After the True Oil had dried on the peghead, I installed the truss rod cover.


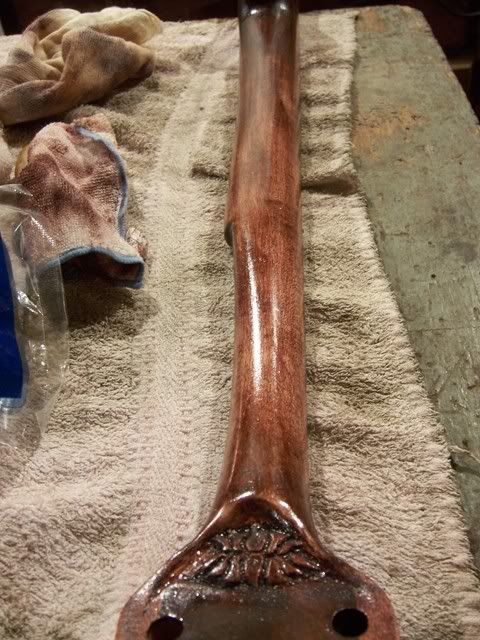
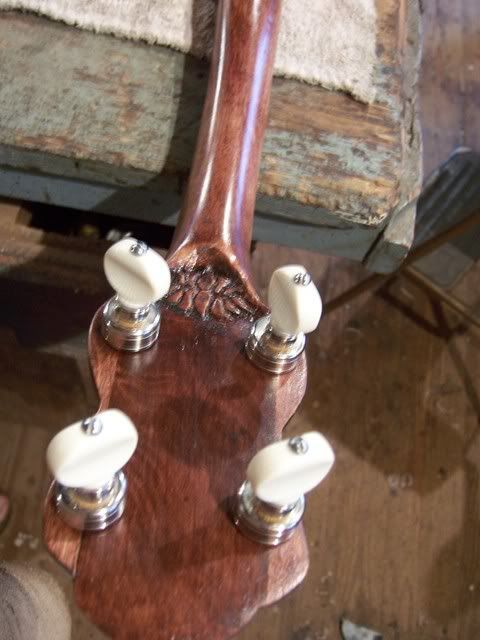
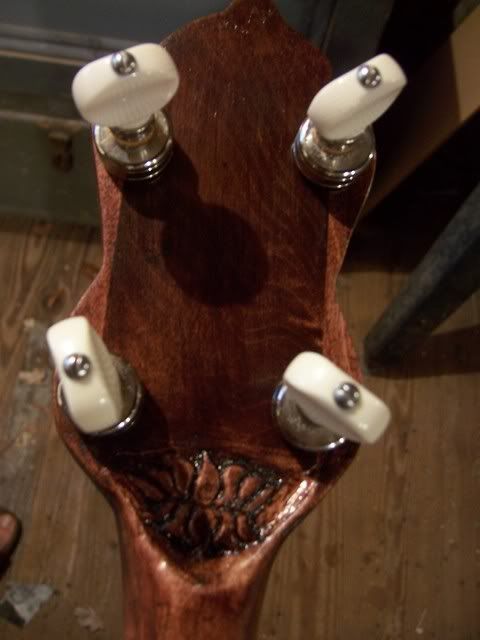
Here you can see the neck with lotus carving after two coats of True Oil.


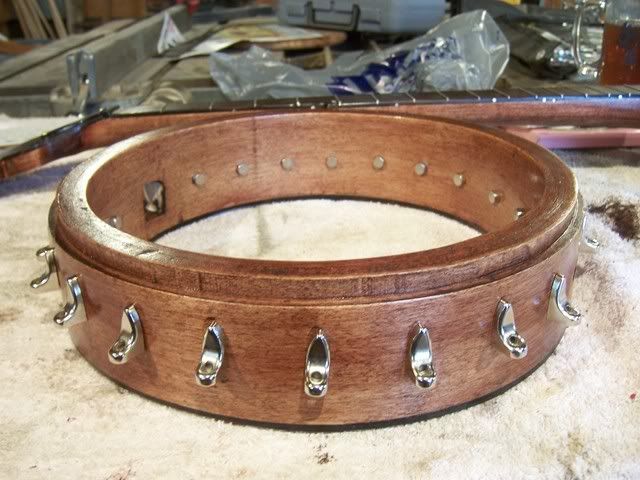
After everything had dried, it was time to assemble the banjo. I put the entire instrument together and checked to make sure everything was properly adjusted, that it played well and it had a nice tone. Once I was certain that everything was perfect, I marked the dowel rod so I could install the neck brace.
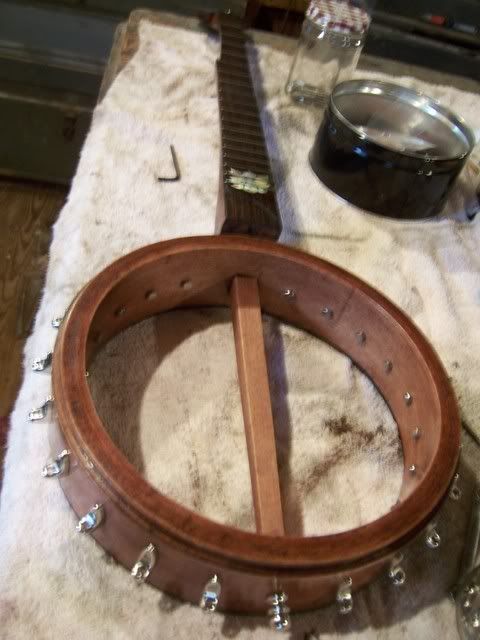


I put it all together & played it to make sure everything was perfect. Then I marked where to drill the hole for the Dowel rod hardware.
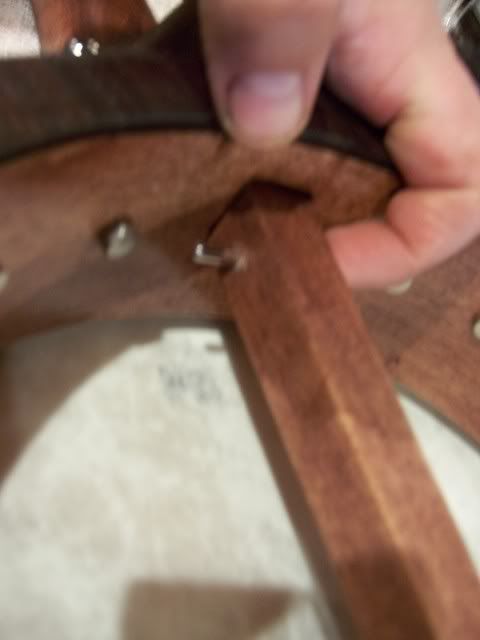
After marking the spot, I removed the neck and drilled a hole for the metal rod that anchors the hardware
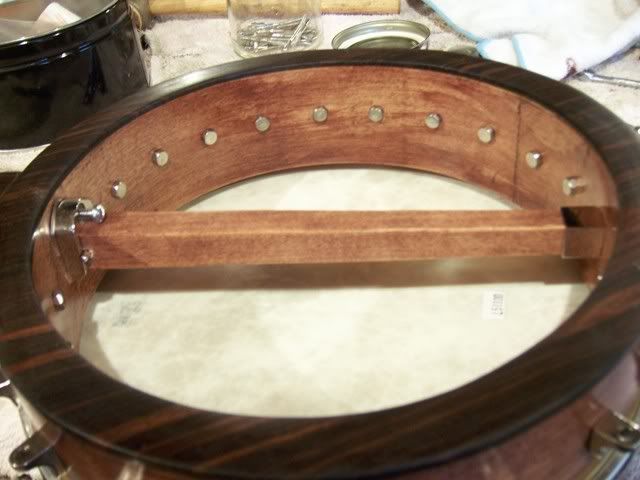
The photo below shows the hardware installed. This hardware pulls the neck tight against the pot so there will be no "drift" in tone as pressure is applied to the neck during normal play.
Almost there!!!

Thursday, December 27, 2007

"You do the best you can, and very softly"


I hope everyone had a peaceful Christmas.


Many years ago my Mother started the tradition of getting the family together on Christmas eve for chili. Well, my small family has gotten smaller in the past few years, my mother and grandmother are no longer with us, but the family still gets together for chili on Christmas eve. This year was the first year that we gathered at my house, which was nice since it's the old home place. So, while it's sad that family members are gone, it is comforting that traditions remain. And how can family members really be gone when they live on in each of us?


Amy gave me a couple of luthier oriented books for Christmas. The title of this post, "you do the best you can, and very softly," is from the book, Hearts & Hands: Musical Instrument Makers in America. The quote is by Warren May of Berea, Ky, by the way.


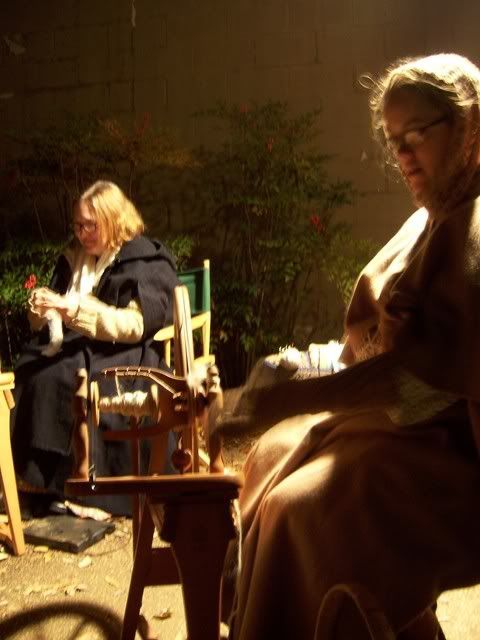
The class I was assistant teaching is over. Here's a photo from the last day of class. I don't think that you'll find a brighter group of folks anywhere. I'm sad that the class is over, it was certainly one of the most enjoyable experiences I've had. There's no profession that I admire more than teaching, and I'm fortunate to have had the opportunity to experience a little of what it is like to be one. I'm going to miss all the folks in the class.
My Friend Brian Kimerer just finished his first gourd banjo and documented the process. It's a beautiful and great sounding instrument. You can read about it at: http//www.thekimerers.com/brian/gourd/index.shtml


And now, on to the banjo:


I cut the nut out of a piece of ebony. Several different materials can be used to make the nut, each giving the banjo a different sound. I used ebony on my last banjo for the first time and really liked the way it sounded. It gave the banjo a nice earthy sound. I guess that when you hand make an instrument, each one will be different, each having it's own personality. After cutting and gluing the nut onto the banjo, I took it off. The ebony, while perfect for my last banjo, just didn't fit the sound of this banjo. I guess each instrument speaks to the maker and experience is how the maker understands the language of the instrument, I reckon. I replaced the ebony with bone. I didn't think to take photographs of the new nut, but the steps are the same. The photo shows the string spacing ruler that I use.


The photo to the left shows the tools that I used to notch the grooves in the nut. I used a small saw to make the initial cut, then a file to make the nut "v" shaped.


After the nut has been notched for the strings it is glued into the slot between the fretboard and the peghead overlay with a mixture of Elmer's glue and ebony dust.


When the glue was completely dry I began to install the fifth string tuner.


First I drilled a hole just shy of the correct diameter.


Next, I used the fifth string reamer to create the correct taper.


I removed the button off of the fifth string tuner and used a dowel rod with a hole drilled into the center to tap the fifth string tuner in place. By doing this, the shaft is protected from damage.


And here is the fifth string tuner in place.


Next I drilled the fretboard for the fifth string nut and glued the nut in place.


After the fifth string nut was in place I put strings on the banjo and made some slight adjustments. I forgot to take photos of the making of the bridge, but it was cut on the scrollsaw from rosewood. The rosewood gives the banjo a nice warm sound that's perfect for old-time music.
And with that, I think I'll call it a day.


Tuesday, December 25, 2007

Thursday, December 6, 2007

Dickens Downtown


I have to apologize for taking so long to post. 'Tis the season to be busy, but today the presents are wrapped and under the tree, and John Fahey's Christmas Album rings softly from the stereo. It's not too cold outside, just cold enough to feel like it's Christmas.


A lot has happened since the last post. I guess that I should start with Dickens Downtown.


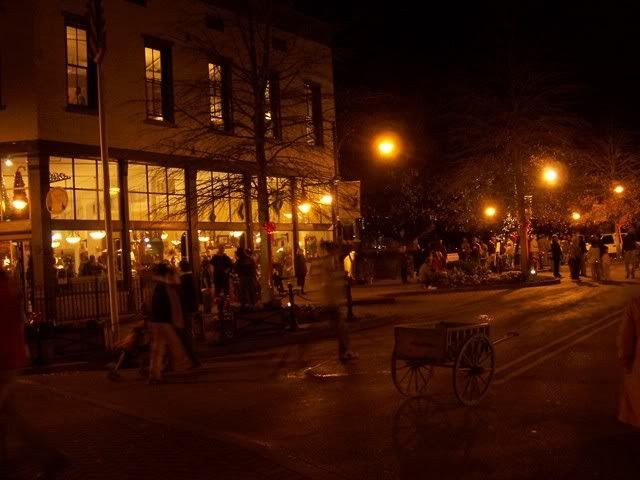
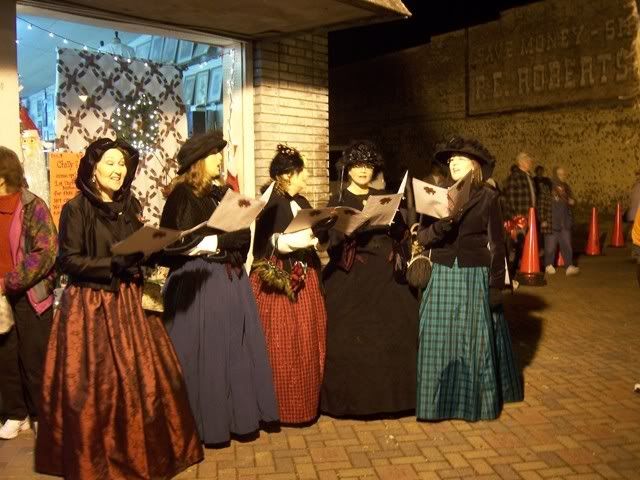
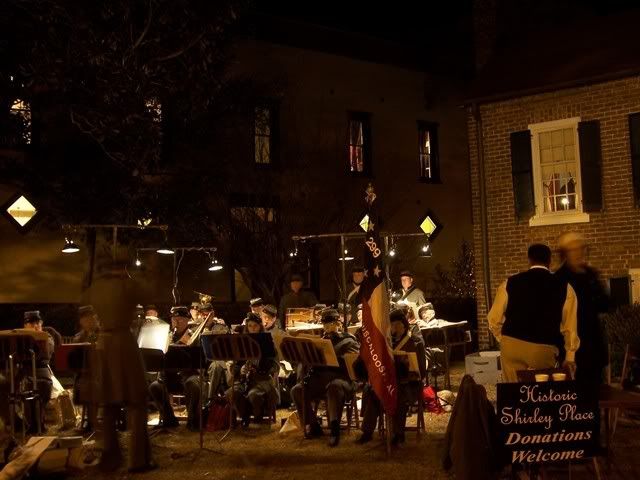
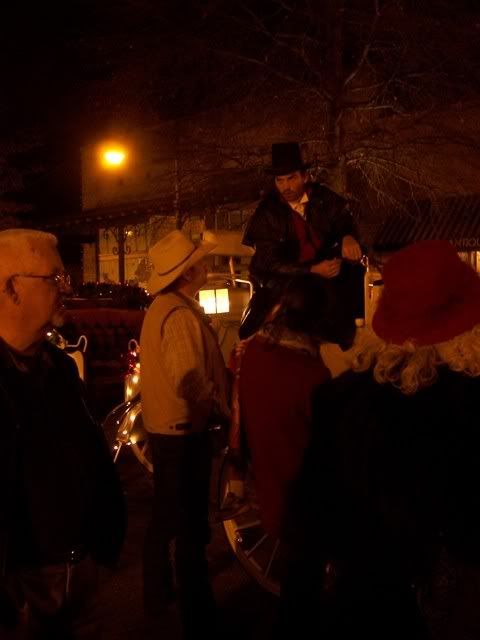
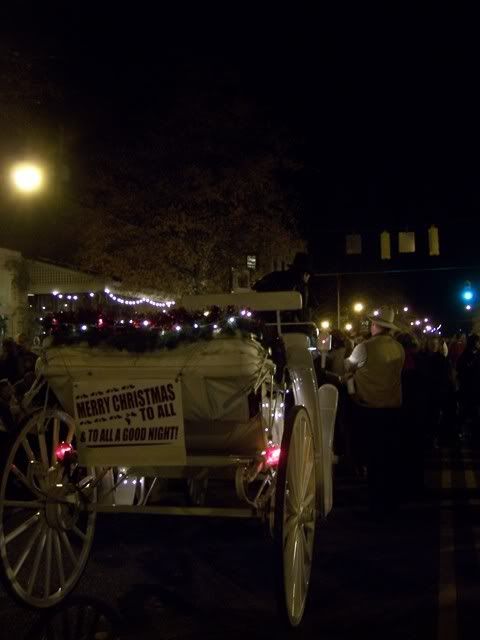
Each year Northport blocks off the streets of the downtown area and the community gathers to celebrate the season. Our sleepy little town is decorated for the season and alive with carolers, horse and buggy rides, and a parade of Scottish bagpipes.


Dickens Downtown is a beautiful start to the holiday season. It really gives you a sense of community. It's a time to meet new friends and reacquaint yourself with old ones.


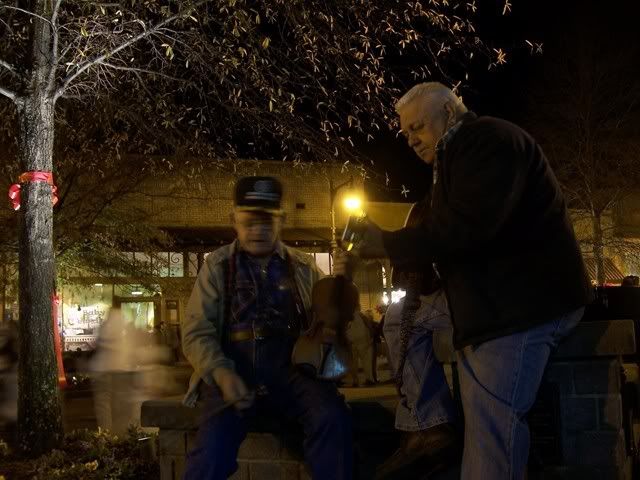
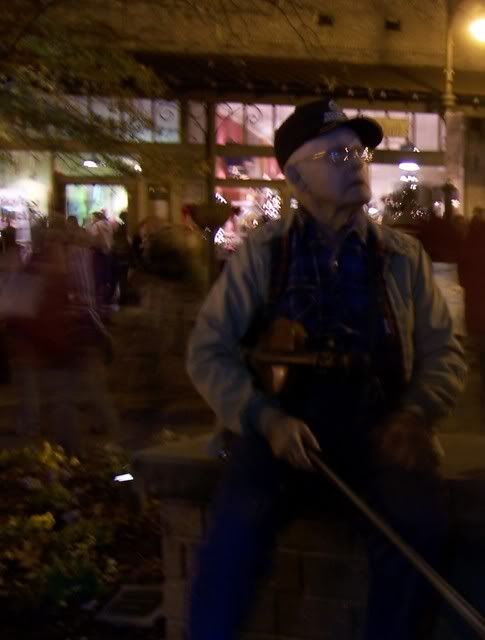
And speaking of new friends, I happened upon a guitar player and fiddler playing old time music. Apparently, there were a lot of old time musicians around Northport, but most all of them have passed away. The old time players used to gather at the community center just down the street from my house. They would get together once a week to play. There were lots of dances to play for also.


Mr. Hobbs, the fiddle player, is 91 years old. The guitarist, Mr. Skinner, is quite a bit younger. They've been playing together for over 30 years. After talking to them a bit, Mr. Skinner told me that he was thinking about getting a group of folks over to his house to play some, like they used to, and if I'd like to bring my banjo?
I can hardly wait.


Sunday, December 2, 2007

What, me fret?


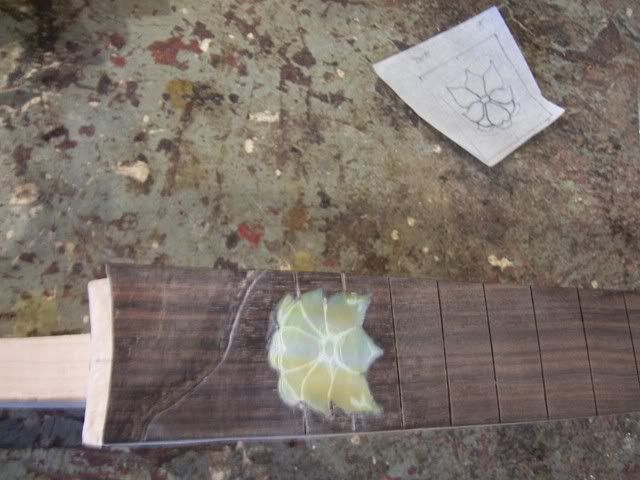
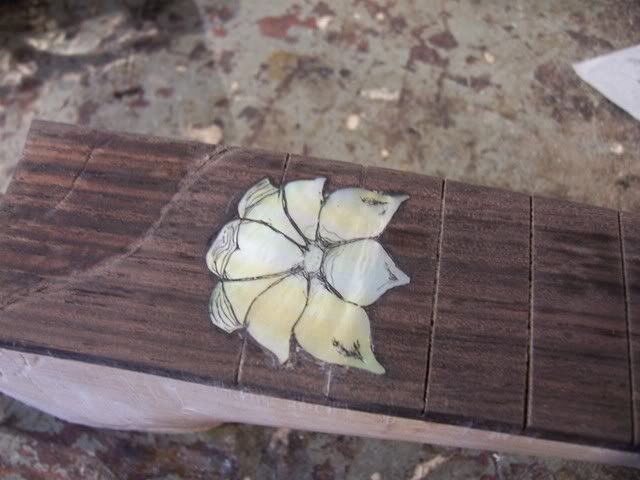
This week I continued working on the neck. First, I inlaid the pearl into the neck.


I used an engraving filler to fill in the details.


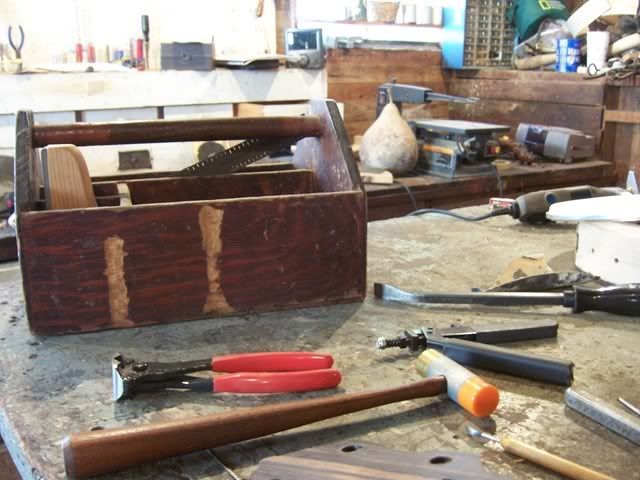
After the inlay was completed, it was time to fret the neck. In the photo to the left are the tools that I used.


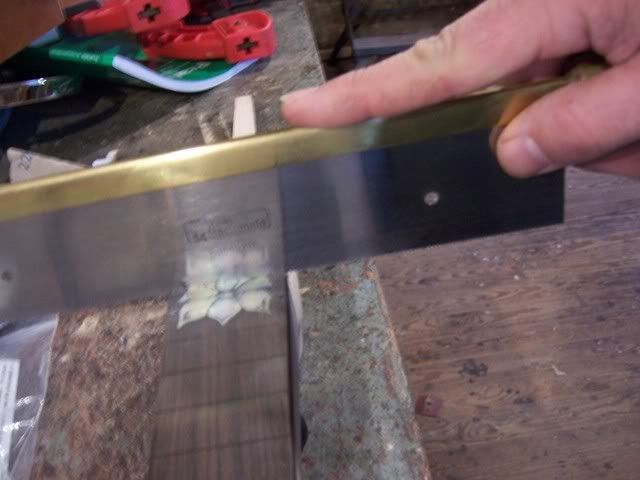
The first item was to re-cut the grooves into the pearl to accept the frets. I used the jewelers saw to make the initial cut, then widened the groove with the fret saw.


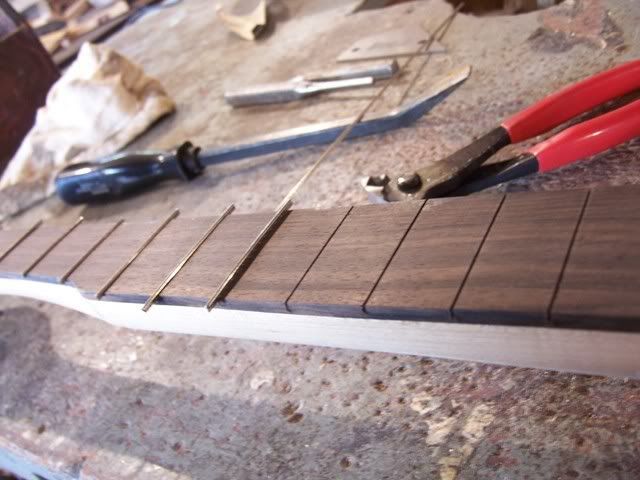
Next I cut the fretwire to the approximate length.


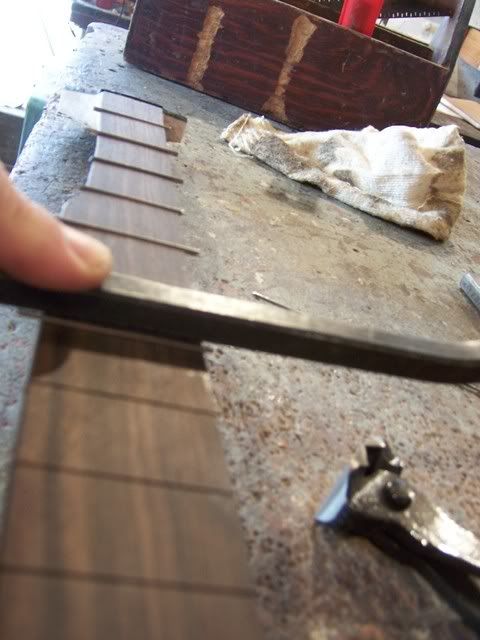
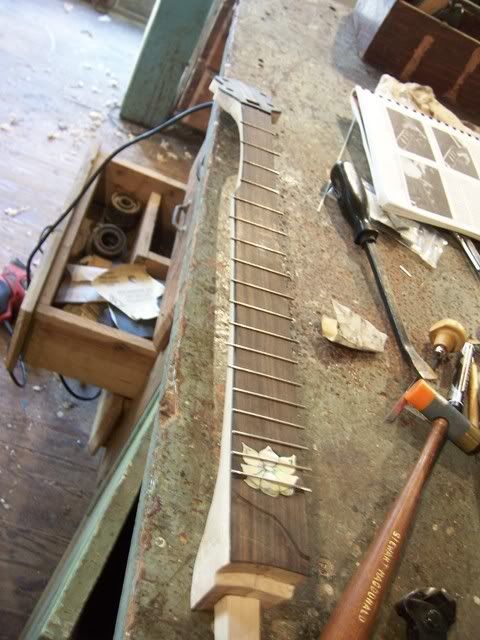
I used a flat piece of metal to cover the fret, then I tapped the fret in with the fret hammer. Keeping a piece of metal on the fret while tapping the fret into the neck assures that equal force is distributed across the entire fret, otherwise I would just warp the fret.


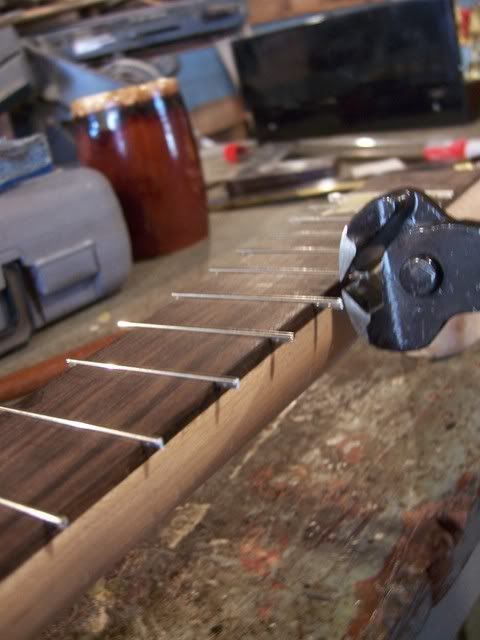
Next I cut the frets to size.


I used a file to make the frets flush with the neck.


The next two photos show the neck after the frets have been filed.


Next I glued a heel cap onto the neck and called it a day.